

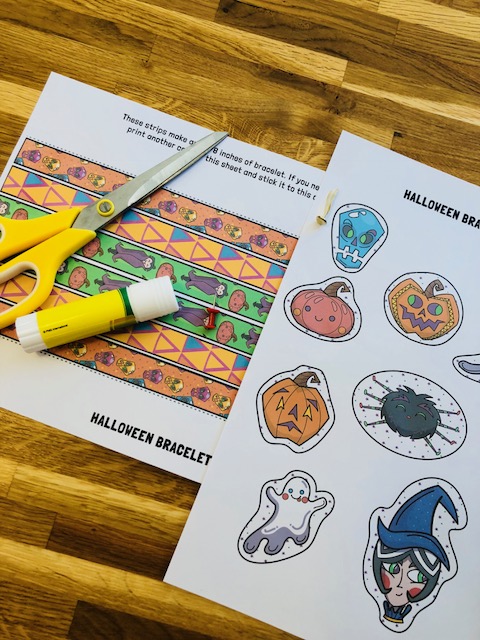
This is a guest post from our friends at Mrs Mactivity, who make creative learning resources to download and print, for parents and teachers. Download the Halloween Friendship Bracelet template here.
Halloween is such a fun seasonal event! There’s pumpkin soup to make, costumes to prepare, trick or treating, parties, fun and excited children! It’s a sort of second place Christmas – after your own birthday of course. It’s also a really good opportunity to involve children in crafting and creative activities, to help them develop fine motor skills and above all, to have fun and spend quality time together doing things that don’t cost the earth. Today we’re going to show you how to make your very own Halloween friendship bracelet, using the template from our website. You can find the link above.
You will need:-
- Scissors
- Glue
- The template
- Some sort of pin – we used a drawing pin
- A paper fastener (also known as a split pin)
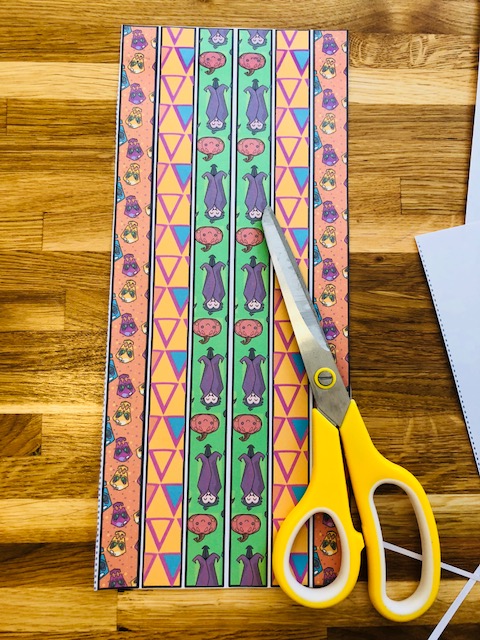
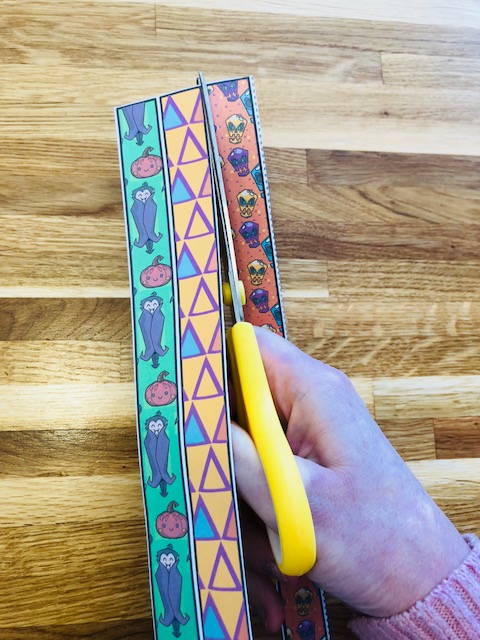
When you’ve downloaded and printed the template, cut out the design you like the most – there are several to choose from. You need to cut around the edge of the 6 strips, as close to the black lines as possible.
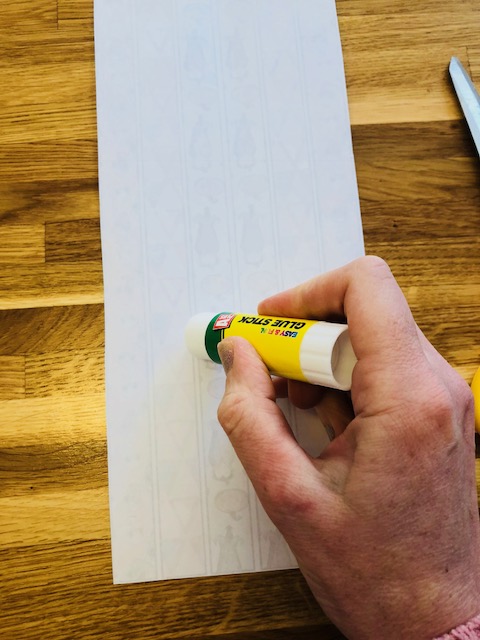
Glue along the whole of the back of the six strips, cover as much surface area as possible.
Fold exactly down the middle strip so that your six strips are perfectly symmetrical. It’s important that you get the fold as central as possible. Smooth the paper down.
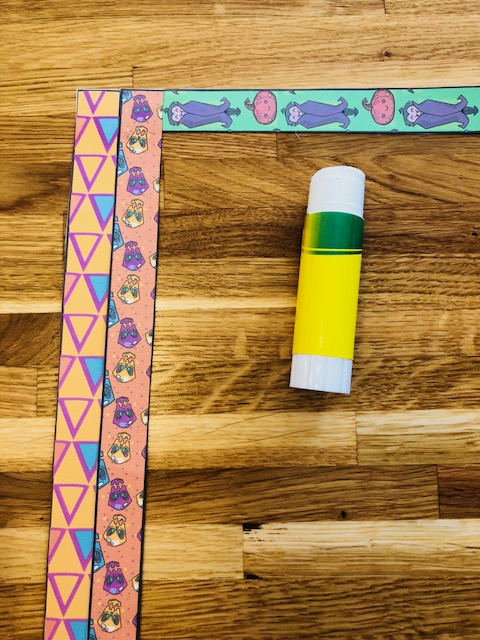
Cut out three strips along the remaining lines.
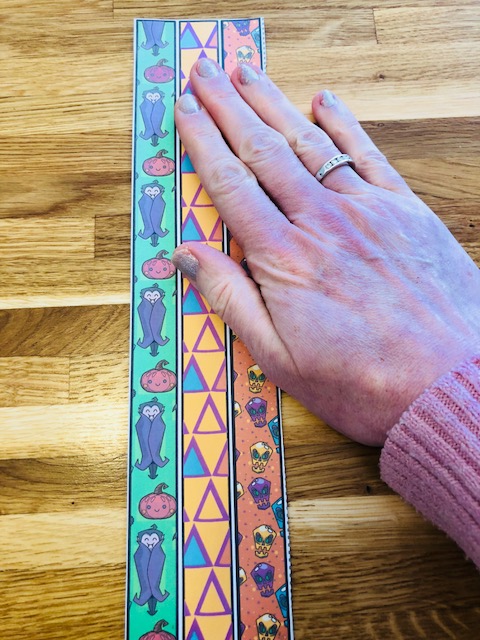
Place one strip in a horizontal position, then glue the remaining two strips right at the top in a perpendicular position. They should sit right next to each other.
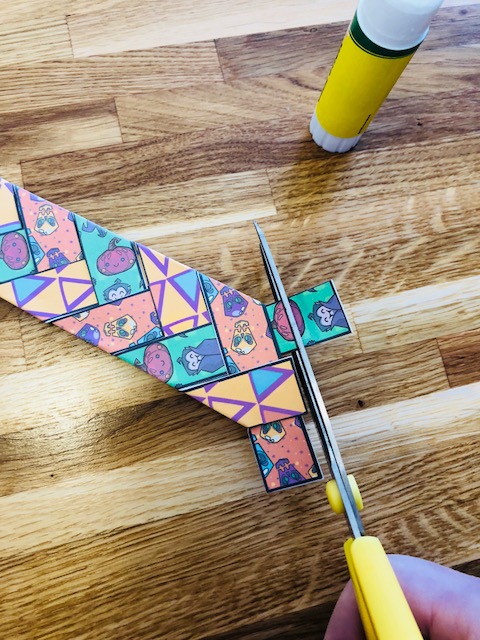
Now the fun bit! Start to weave your strips in and out of each other. Fold each edge so it is squared off, glue each one down as you go. It should feel like you are doing a plait.


Carry on right to the end of your strips, then cut off to neaten the end. The whole effect should look like a tie.
 Choose whichever charm you prefer, and cut it out.
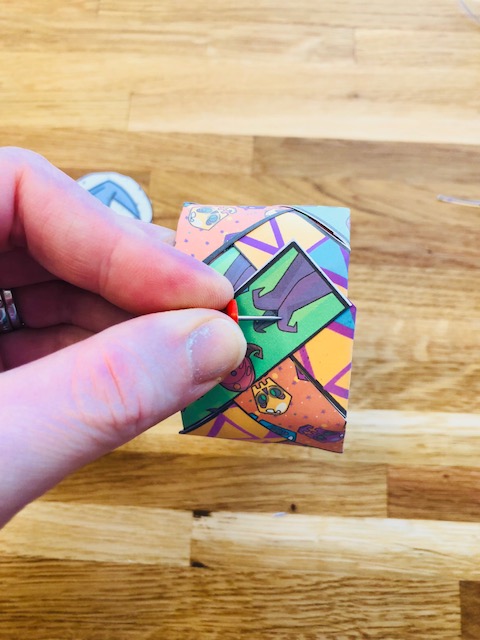
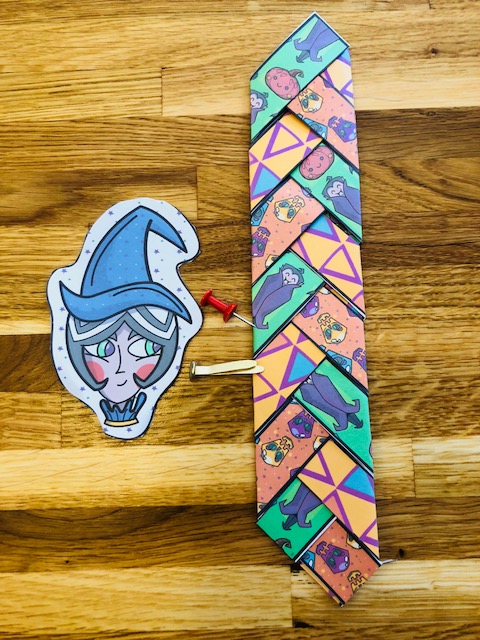 Curl your bracelet round so it makes a cuff, and use your pin to create two holds through either end. Wriggle the pin round a bit to make the hole as big as possible. This bit is for adults only.
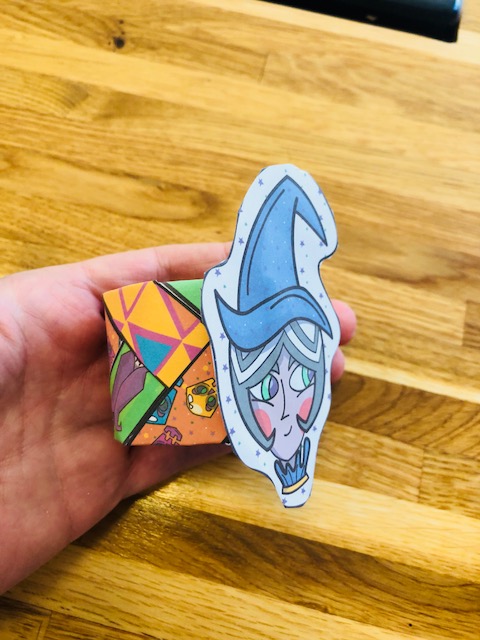
 Push the split pin through each hole, then straighten the bracelet out again to add your charm, use glue to secure in place. (if you don’t want to use a split pin you can just glue the ends together).
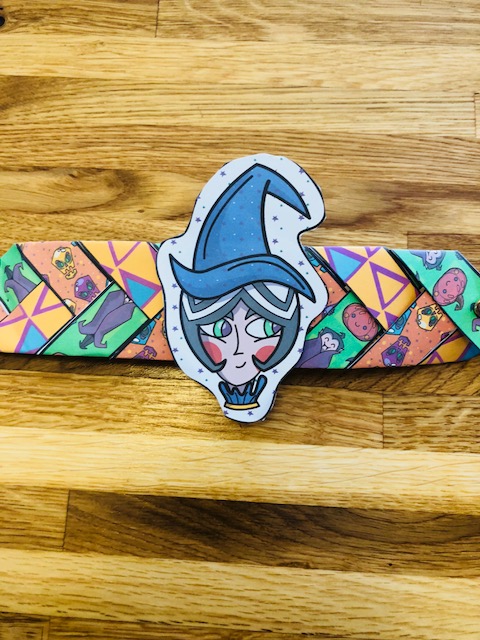 Now your bracelet is complete! Attach it round your wrist using the split pin. Just be careful as some split pins can be a little sharp.
And you’re done! A cute Halloween weave friendship bracelet for your Halloween party, or just for doing at home as a fun seasonal craft activity.

Come and take a look at our Halloween resources for more Spooktacular fun!


What a clever little kit! A perfect rainy day activity in the run up to Halloween 🙂
That’s a cool activity for teens for Halloween. Always nice to see a craft activity instead of knocking on doors
Thank you so much for featuring our guest post! It really is such a fun craft for kids and great for fine motor skills too!