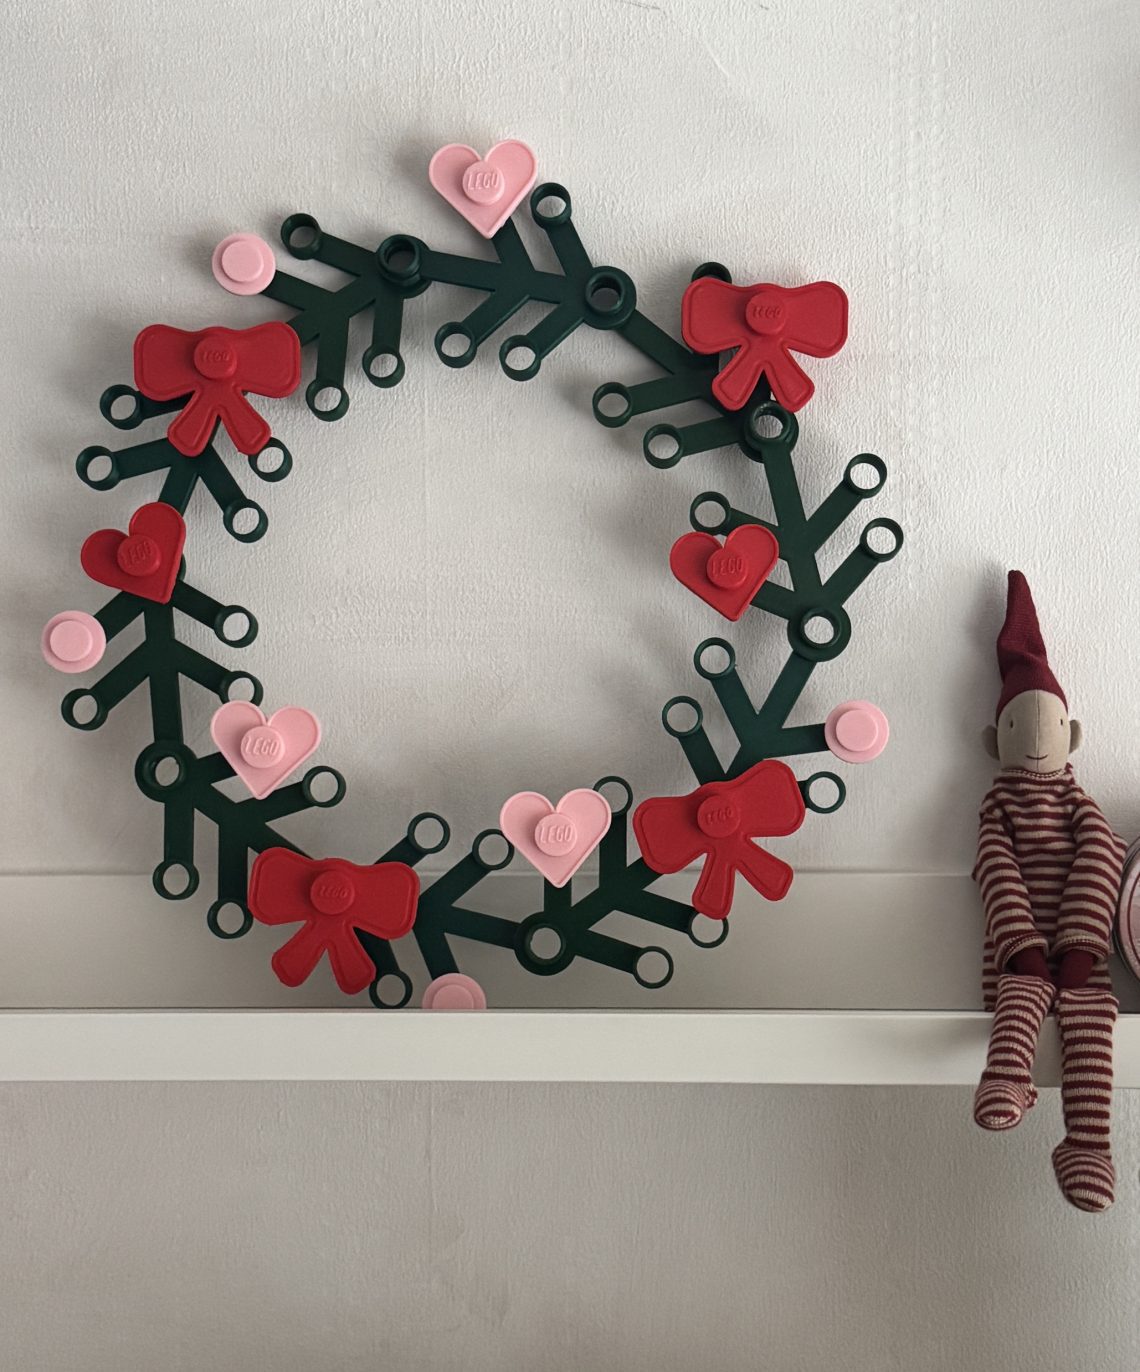
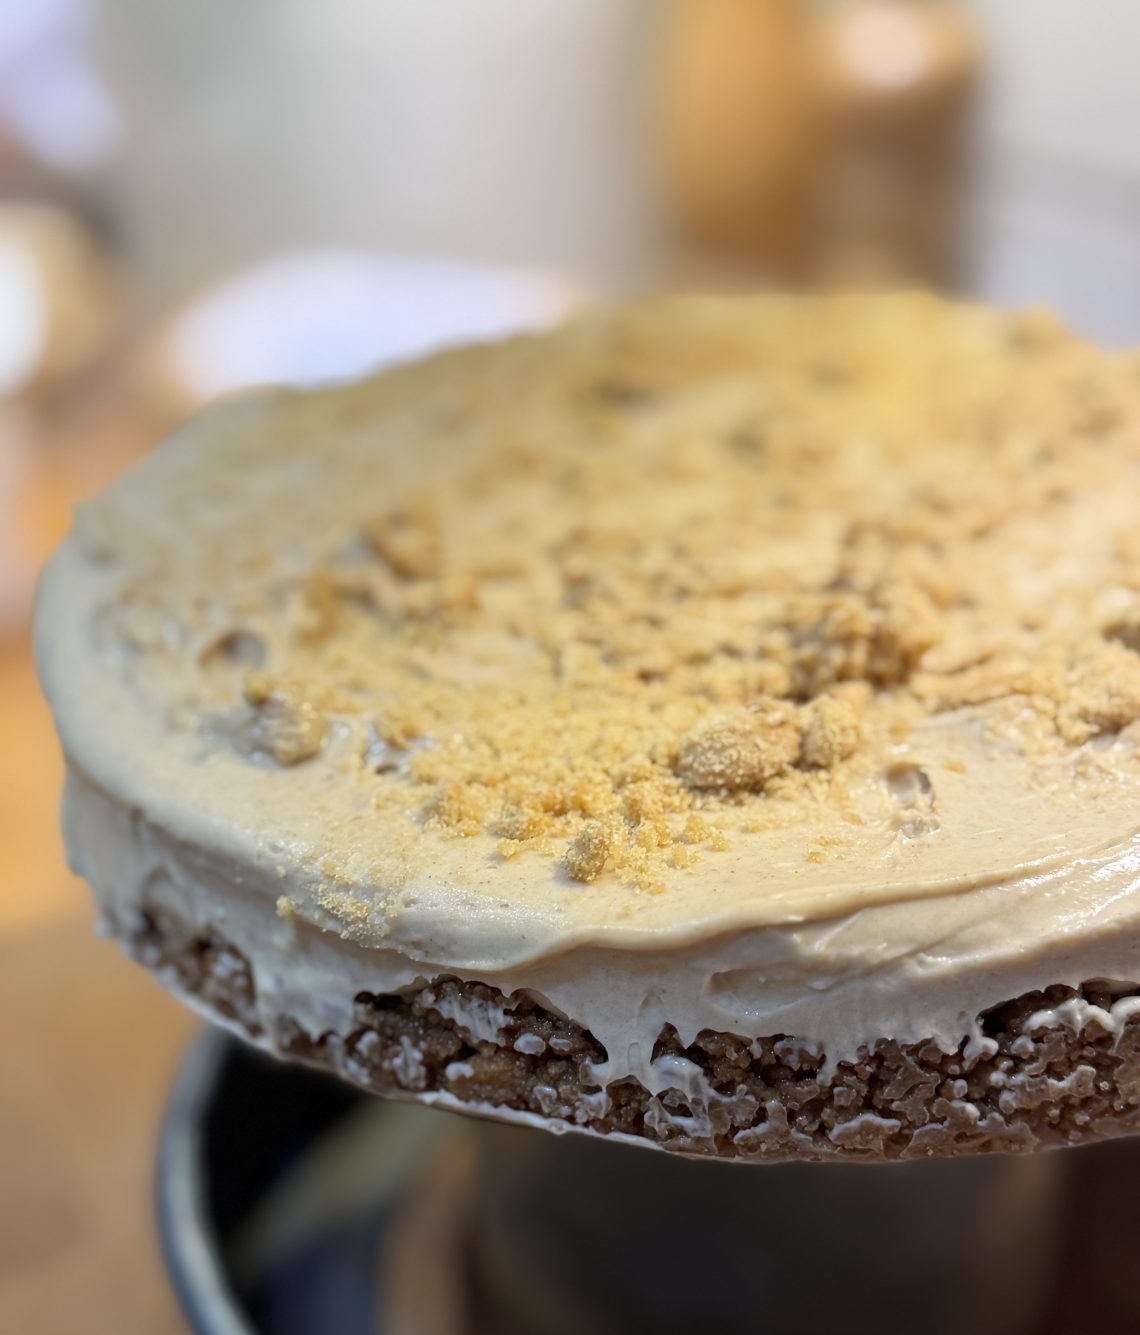
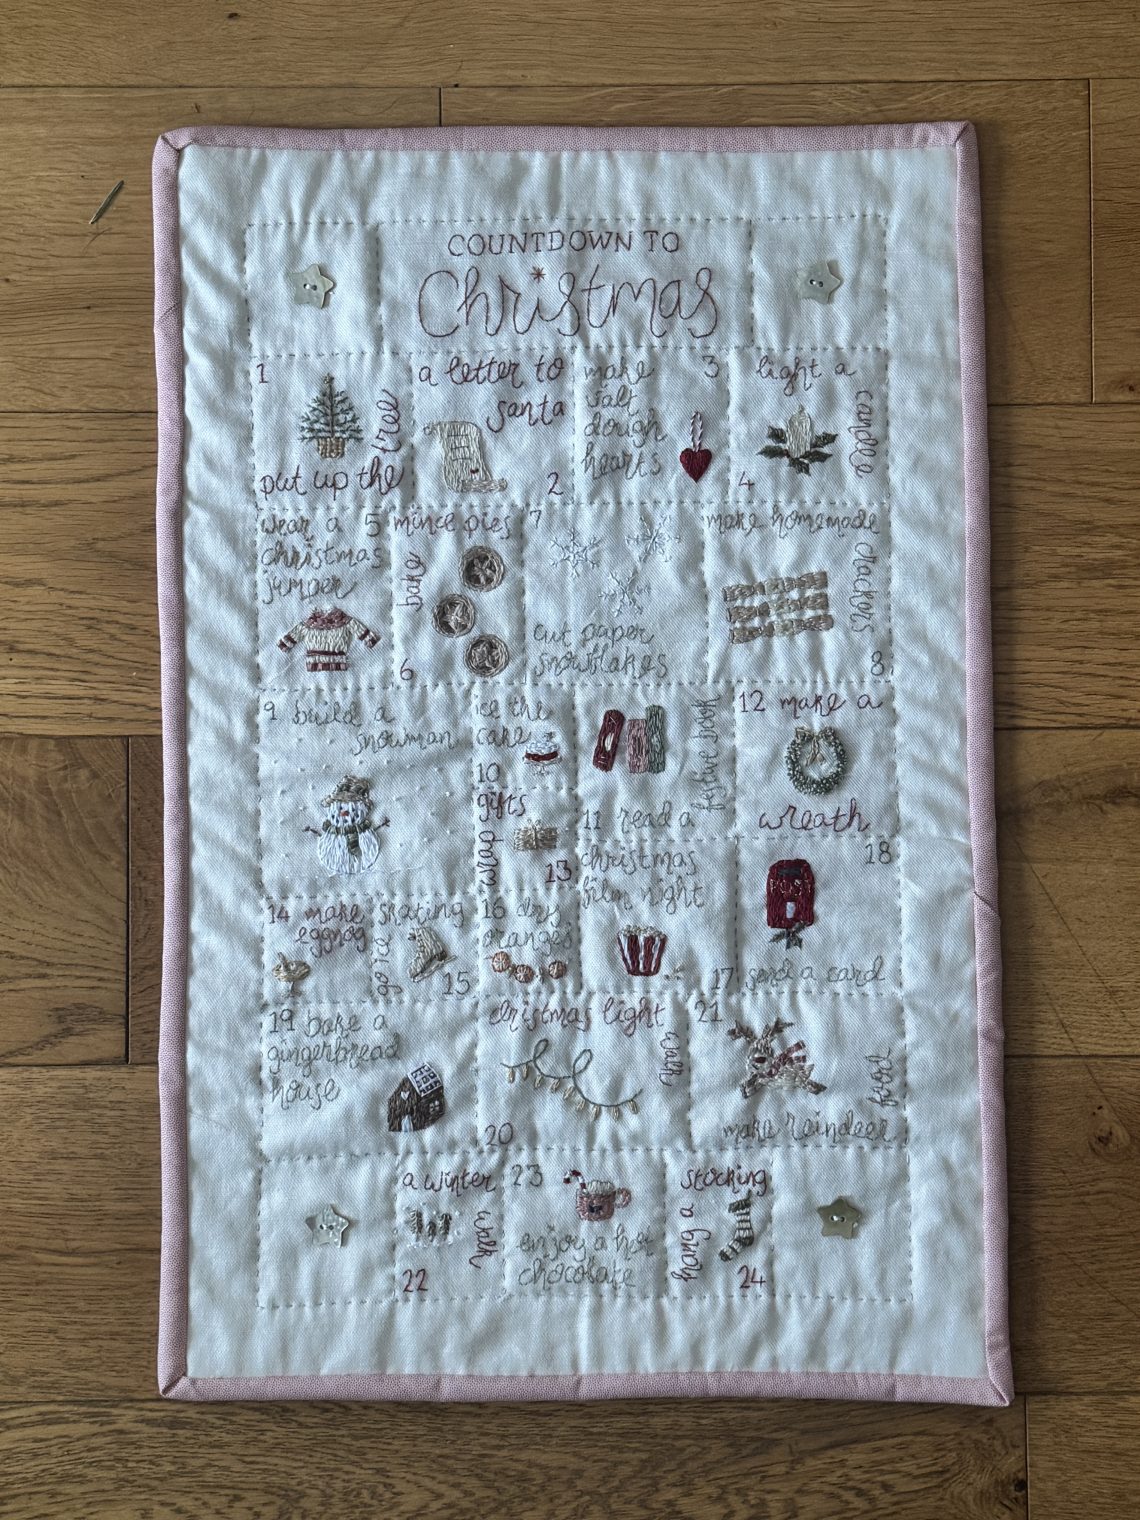
I love the start of a new year. Each month I love to write a round up of what I’ve been making. This helps me to see what I’ve made, and holds me accountable for projects half started or bought. This year I’m calling my series The Monthly Thread. January’s post is all about a embroidery sampler & linen collage. The Monthly Thread: January’s embroidery sampler & linen collage Let’s start off with the embroidery sampler and linen collage! My first finished make of 2026 was the Pretty Fabrics and Trims Christmas Countdown panel. This was a lovely project to have…
-
-
Buying a home is exciting, but it can quickly feel overwhelming when you’re unsure of the legal steps involved. From making an offer to receiving your keys, every stage matters in protecting your investment. The process may seem complicated, but with the right understanding, you can handle it confidently and avoid unnecessary stress. Understanding these steps not only helps you stay informed but also prevents costly mistakes. Keep reading to learn the key legal steps every buyer should understand before completing their purchase. From Offer to Acceptance: Setting the Legal Foundations After finding your ideal property, your first legal step…
-
Starting my week with the Weekly Edit is a ritual I’ve kept for years. It’s my favourite Monday morning anchor—a chance to slow down, celebrate the ‘small wins,’ and gather the smiles from the week behind us. Part reflection and part record-keeping, it’s my way of documenting our family’s adventures before the next chapter begins. The Weekly Edit {Week 4/2026} The oldest teen received his latest mock GCSE results and had an interview for Sixth Form. He is growing up so fast and it’s exciting watching him mature into a lovely young man. The youngest teen was picked to play…
-
For many families, school holidays are the perfect time to step away from busy routines and spend quality time together. Yet parents often face the yearly challenge of planning a holiday that balances relaxation, fun and meaningful experiences—not to mention keeping the kids entertained without relying on endless screens. A Family Cruise offers a wonderful solution, blending adventure with calm moments, structure with freedom, and plenty of opportunities for children (and grown-ups!) to create memories that last far longer than the holiday itself. Crafting is at the heart of The Gingerbread House community—whether it’s scrapbooking, DIY keepsakes or helping little…
-
Starting my week with the Weekly Edit is a ritual I’ve kept for years. It’s my favourite Monday morning anchor—a chance to slow down, celebrate the ‘small wins,’ and gather the smiles from the week behind us. Part reflection and part record-keeping, it’s my way of documenting our family’s adventures before the next chapter begins. The Weekly Edit {Week 3/2026} I love seeing the first daffodils of the year. We were lucky to see really early daffodils when we visited Hughenden a few weeks ago. I saw bunches of cut daffodils in the supermarket and couldn’t resist buying some to…
-
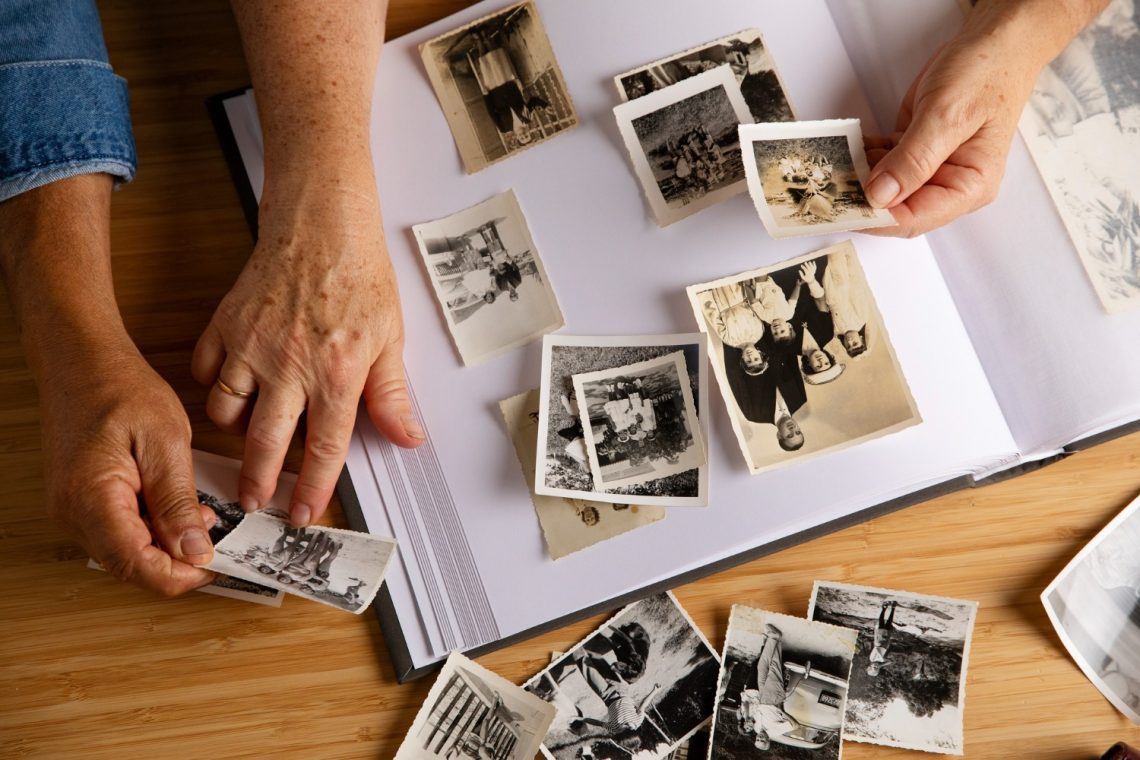
Old family photos rarely sit on display. More often, they end up tucked away in drawers, shoe boxes, or albums on the top shelf. They wait quietly, collecting dust while time keeps moving forward. Yet these pictures hold moments that shaped entire families. A smile that looks familiar. A house that no longer exists. A face everyone remembers, but no longer sees. As photographs age, they start to disappear in slow ways. Colours fade. Paper cracks. Corners curl. At some point, people realise that if nothing is done, these images may be lost for good. That is usually when the…
-
Rising household costs have become an unavoidable reality for families in the UK and around the world. This is especially the case for those with children. From increased food bills to higher energy usage from laundry, cooking and heating, parents often face huge financial pressure when compared to smaller households. On top of this strain, electricity prices are projected to rise once again in 2026, and even though this is a modest increase (around 0.2%), with wider economic uncertainty to contend with, this is not great news. Of course, there is no one change that can offset any of these…
-
Starting the week by writing the Weekly Edit is something I’ve been doing for the last few years. It’s my chance to sit down and reflect on the little or big things that made me smile in the previous week, as well as to record some of our family adventures. The Weekly Edit {Week 2/2026} Last week we packed away the Christmas decorations. This is always bittersweet as I love having them around, but am also happy to have my house clean and tidy again. We had a real Christmas tree so I was happy I didn’t need to clean…
-
As you navigate the labyrinth of high school, face the challenges of growing independence, and grapple with preparing for college, have you considered the role online education could play in your journey? With the rise in technological advancements, online high schools have begun to emerge as a viable alternative to traditional education. But does this virtual route truly equip you with the skills and knowledge necessary for college? It’s a question that’s ignited a fascinating debate, and one that may shape your academic future. So, let’s explore it together, shall we? The Evolution of Online High Schools How did online…


