Looking for a fun way to create place settings? Then I have a fun Cricut craft to share with you today. I love my Cricut Maker and find it’s so useful to make things for our home. I’ve lost count of the little items I’ve made for around the home but our wooden place settings are one thing we’ve got a lot of use from. I actually made them over a year ago and am only just getting round to sharing a tutorial for them. The wooden place settings can be used all year round but we use them a lot at Christmas. We made individual wooden place setting for each member of our family, they are them used to show each person where they sit.
Wooden Cricut place settings equipment
Wooden blocks
Cricut Maker
Cricut Green vinyl
Cricut Transfer tape
How to make wooden Cricut place settings
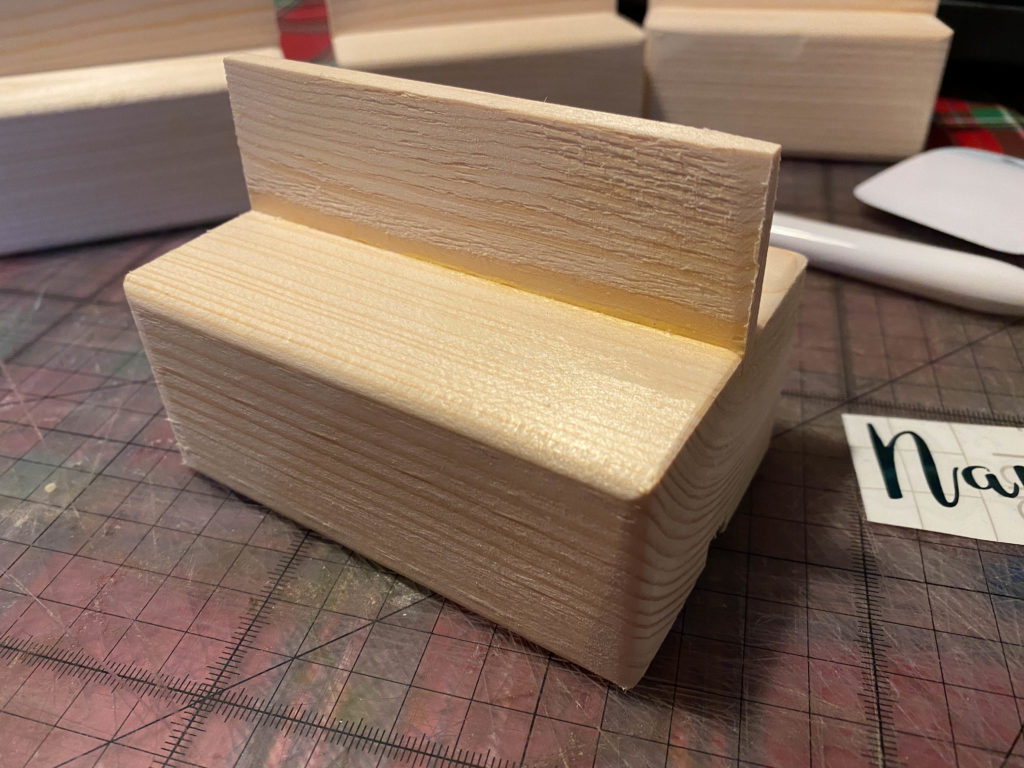
The first step was to create the wooden block. We used planed pine wood which we cut to size. We cut a channel along the top of each one and added a small piece of wood which would be used to pick up the wooden block. The small piece of wood was glued in place with wood glue, them lightly sanded each block before adding a coat of wood stain.
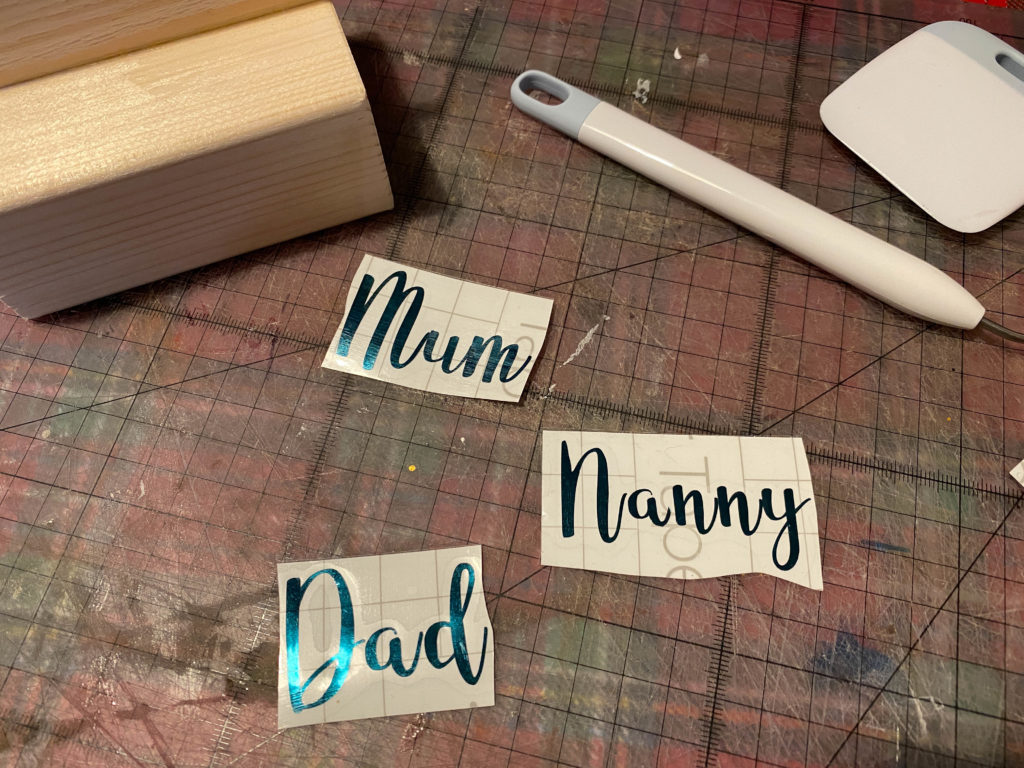
The next step was to cut the names from vinyl. I opened Cricut Design Space and created a new project. I wrote the names I wanted to cut, making sure they were the correct size for my wooden blocks.
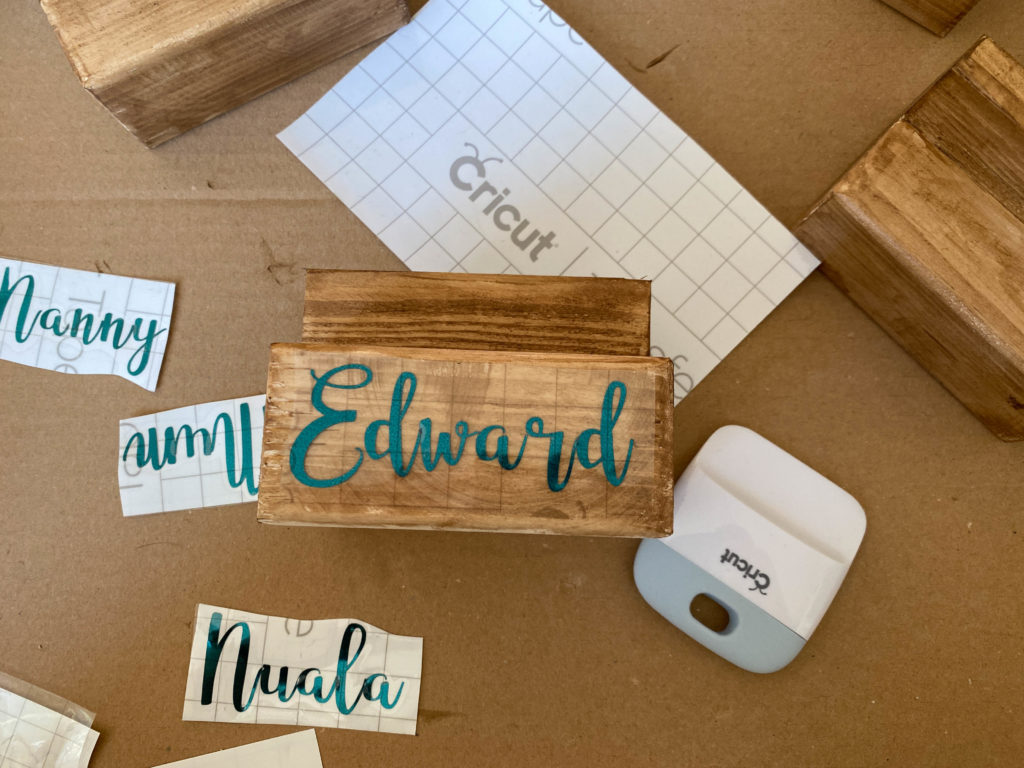
I cut the images from green vinyl, weeded the excess vinyl away and used transfer tape to move the designs to the wooden blocks.
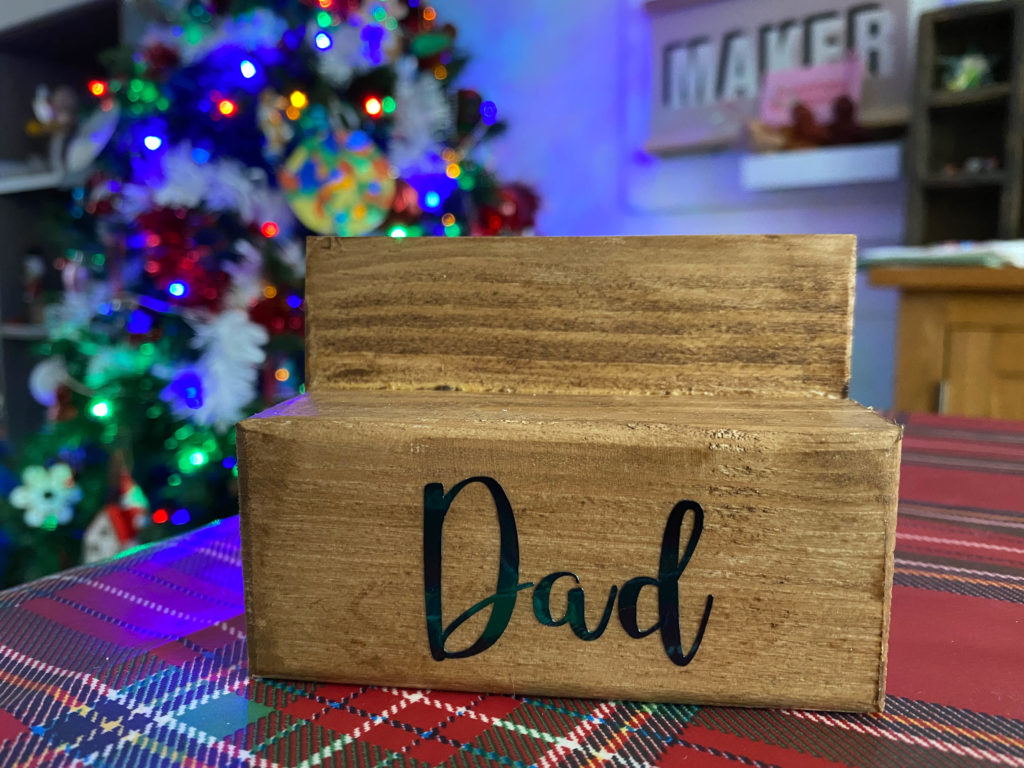
I positioned each name in the centre of the wooden block, removing the transfer tape and applying it to the block.
The wooden place settings were simple to make but really useful. The children love choosing who sits where!
You may be interested in some of our other Christmas Cricut makes:
Cricut made wooden countdown calendar
DIY re-useable Advent calendar
Personalised Christmas baubles
Easy magic reindeer food tubes



Love this Cricut craft!