
It was the second day of half-term and the rainy-day list had already collapsed. We had done the puzzle, watched the film, lost two pieces of the puzzle, and the youngest was eyeing the biscuit tin with a worrying look in her eye. I needed a craft, but not another colouring book. Something where she could see the thing she had made and want to wear it the next day.
We landed on beaded charm bracelets. It turned out to be one of those activities where the kids actually wanted to keep going after the first attempt, and we ended up making three each over the afternoon. If you have a child somewhere between seven and twelve who likes pretty things, this is the one.
What You’ll Need:
You can pull most of this together for under £15 if you do not already have a craft drawer:
• A small assortment of beads (glass and wooden mix nicely).
• Headpins, silver-plated 50 mm work for most beads.
• A few jump rings in 4 mm and 6 mm.
• A length of fine chain.
• A small lobster clasp.
• A pair of round-nose pliers (essential).
• A pair of snipe-nose or chain-nose pliers (very helpful).
• Side cutters or a sharp nail clipper at a pinch.
The pliers are the bit that matters most. Most household pliers are scissor-action, which means they pinch at the tip rather than gripping evenly, and that is what turns soft jewellery wire into a wonky, crushed mess (source).
Choosing Beads and Colours Your Child Will Love
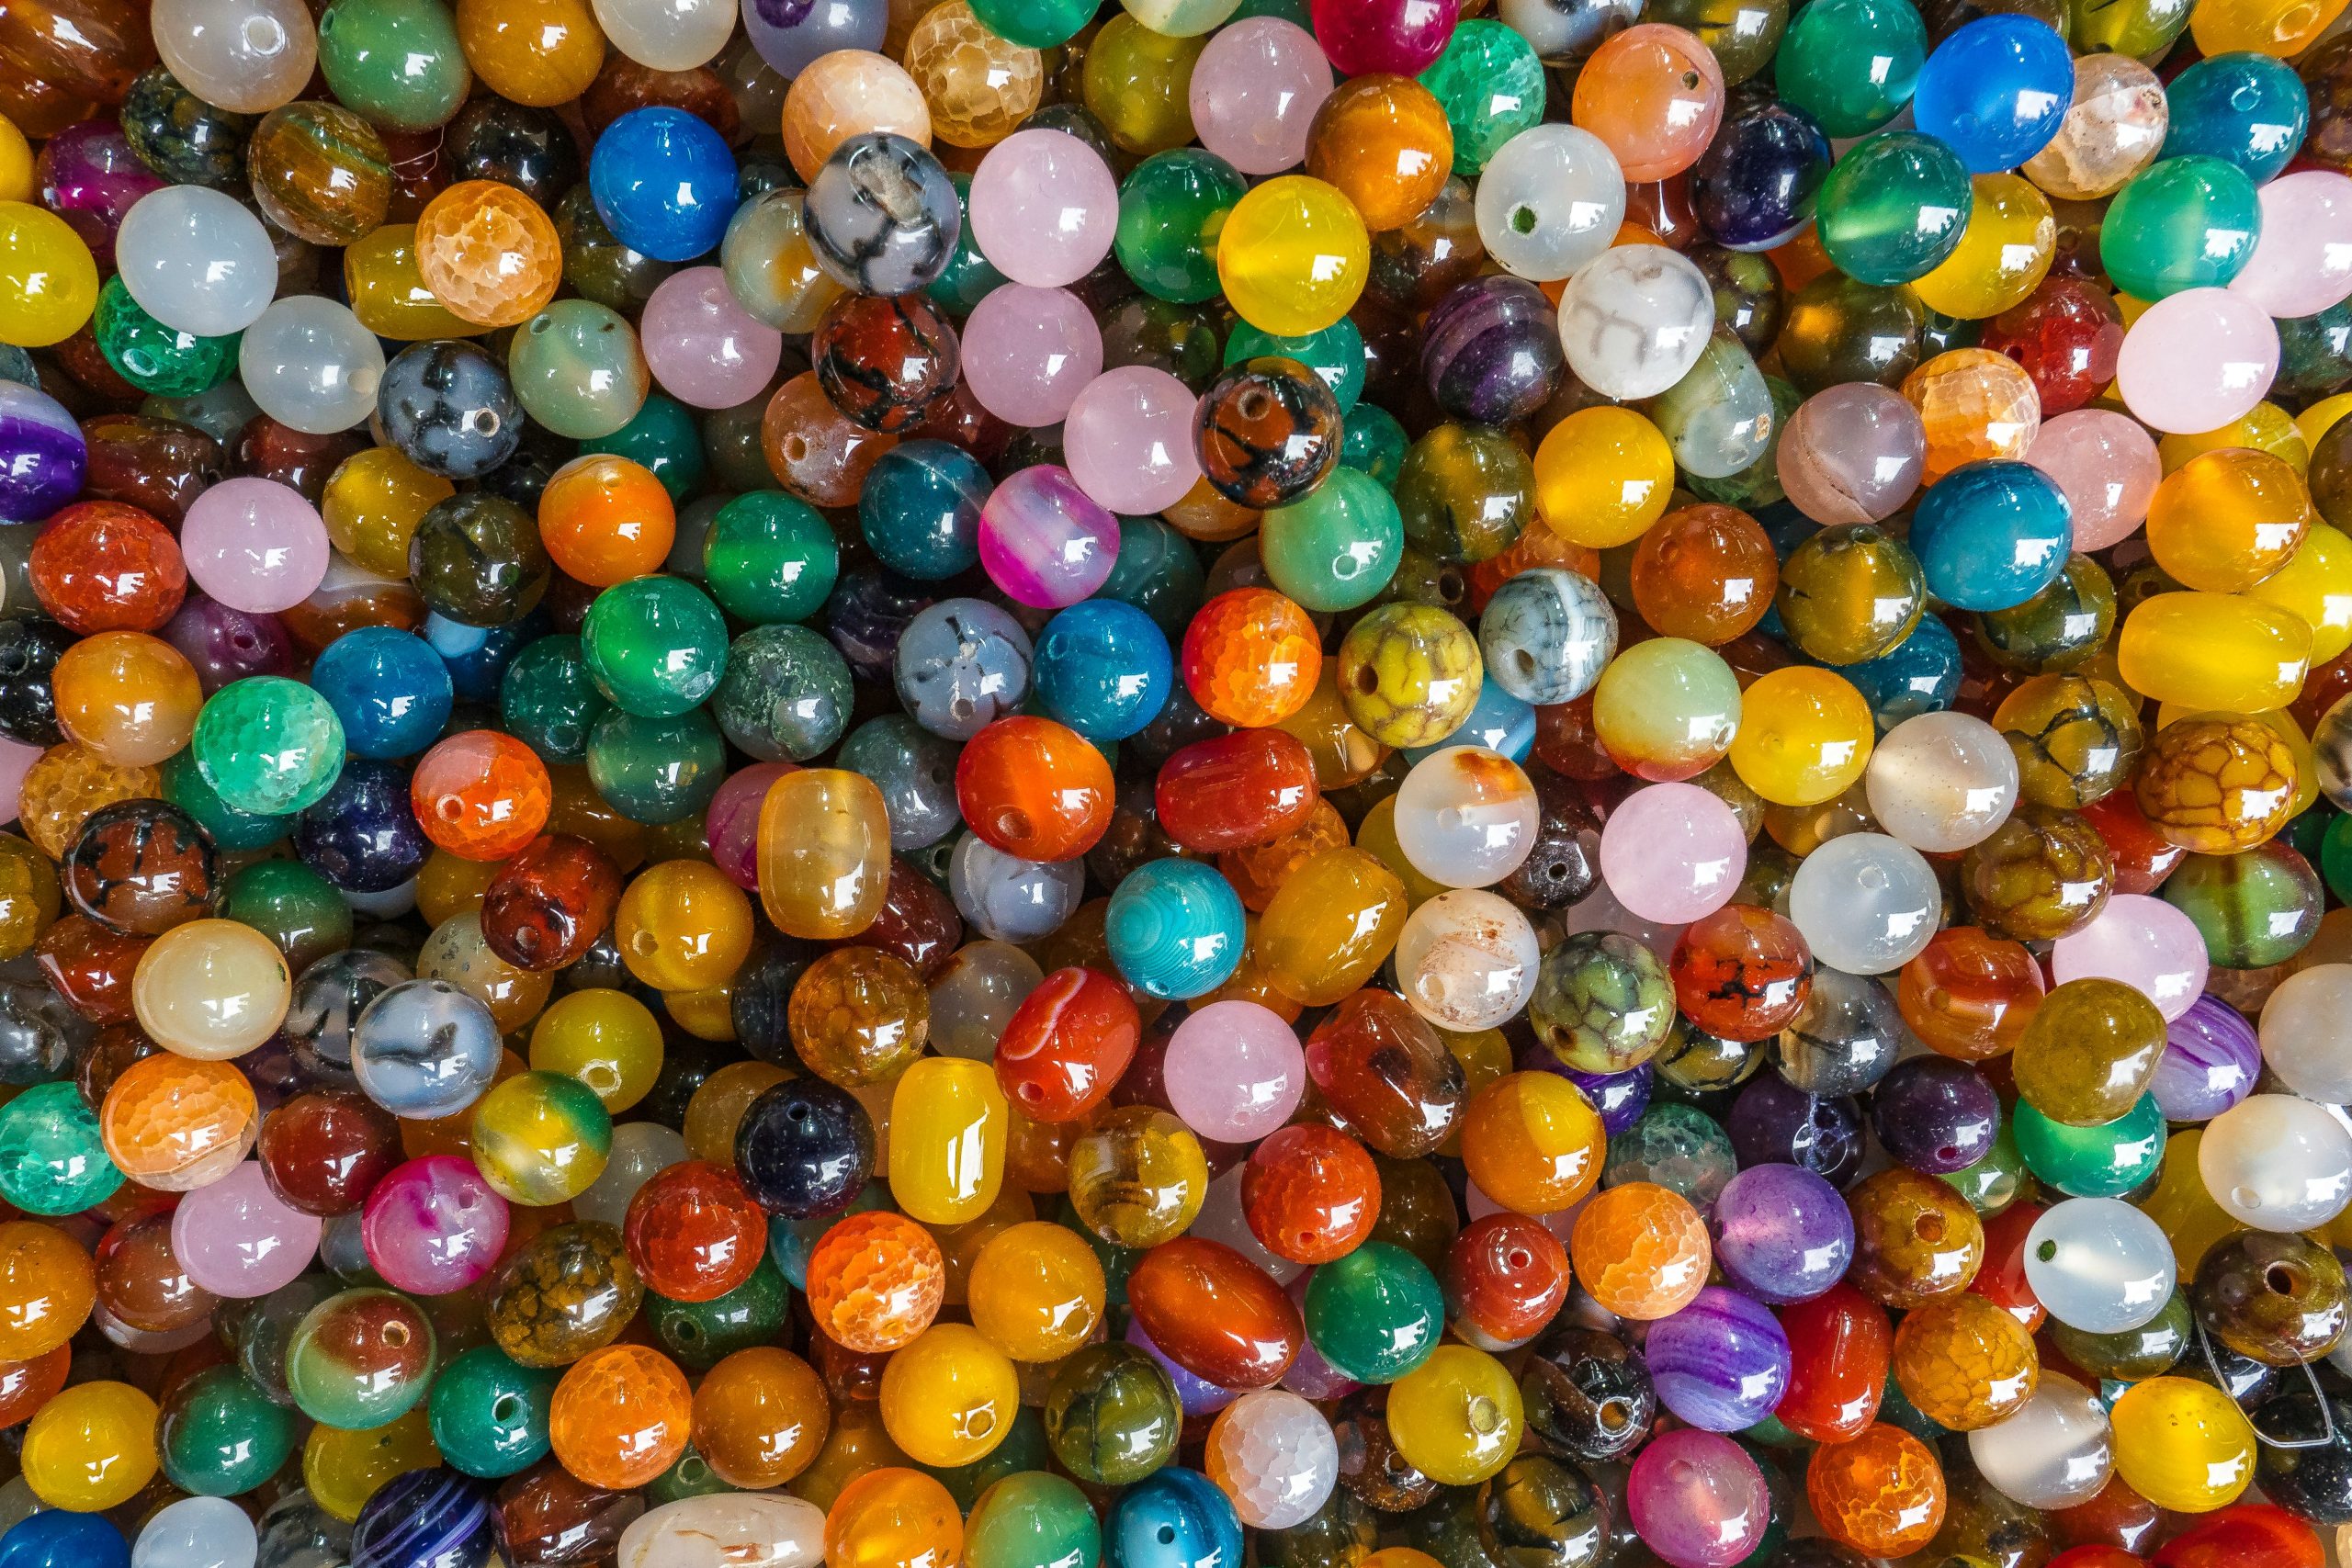
I let mine pick the palette. She went for sea-glass greens and warm corals and was very firm about no purple. Smaller beads of 4 to 6 mm are better for younger fingers and look more finished on a wrist; larger statement beads of 8 to 10 mm feel chunky and are easier to thread but can pull the bracelet out of balance.
A few quiet rules I worked out the hard way:
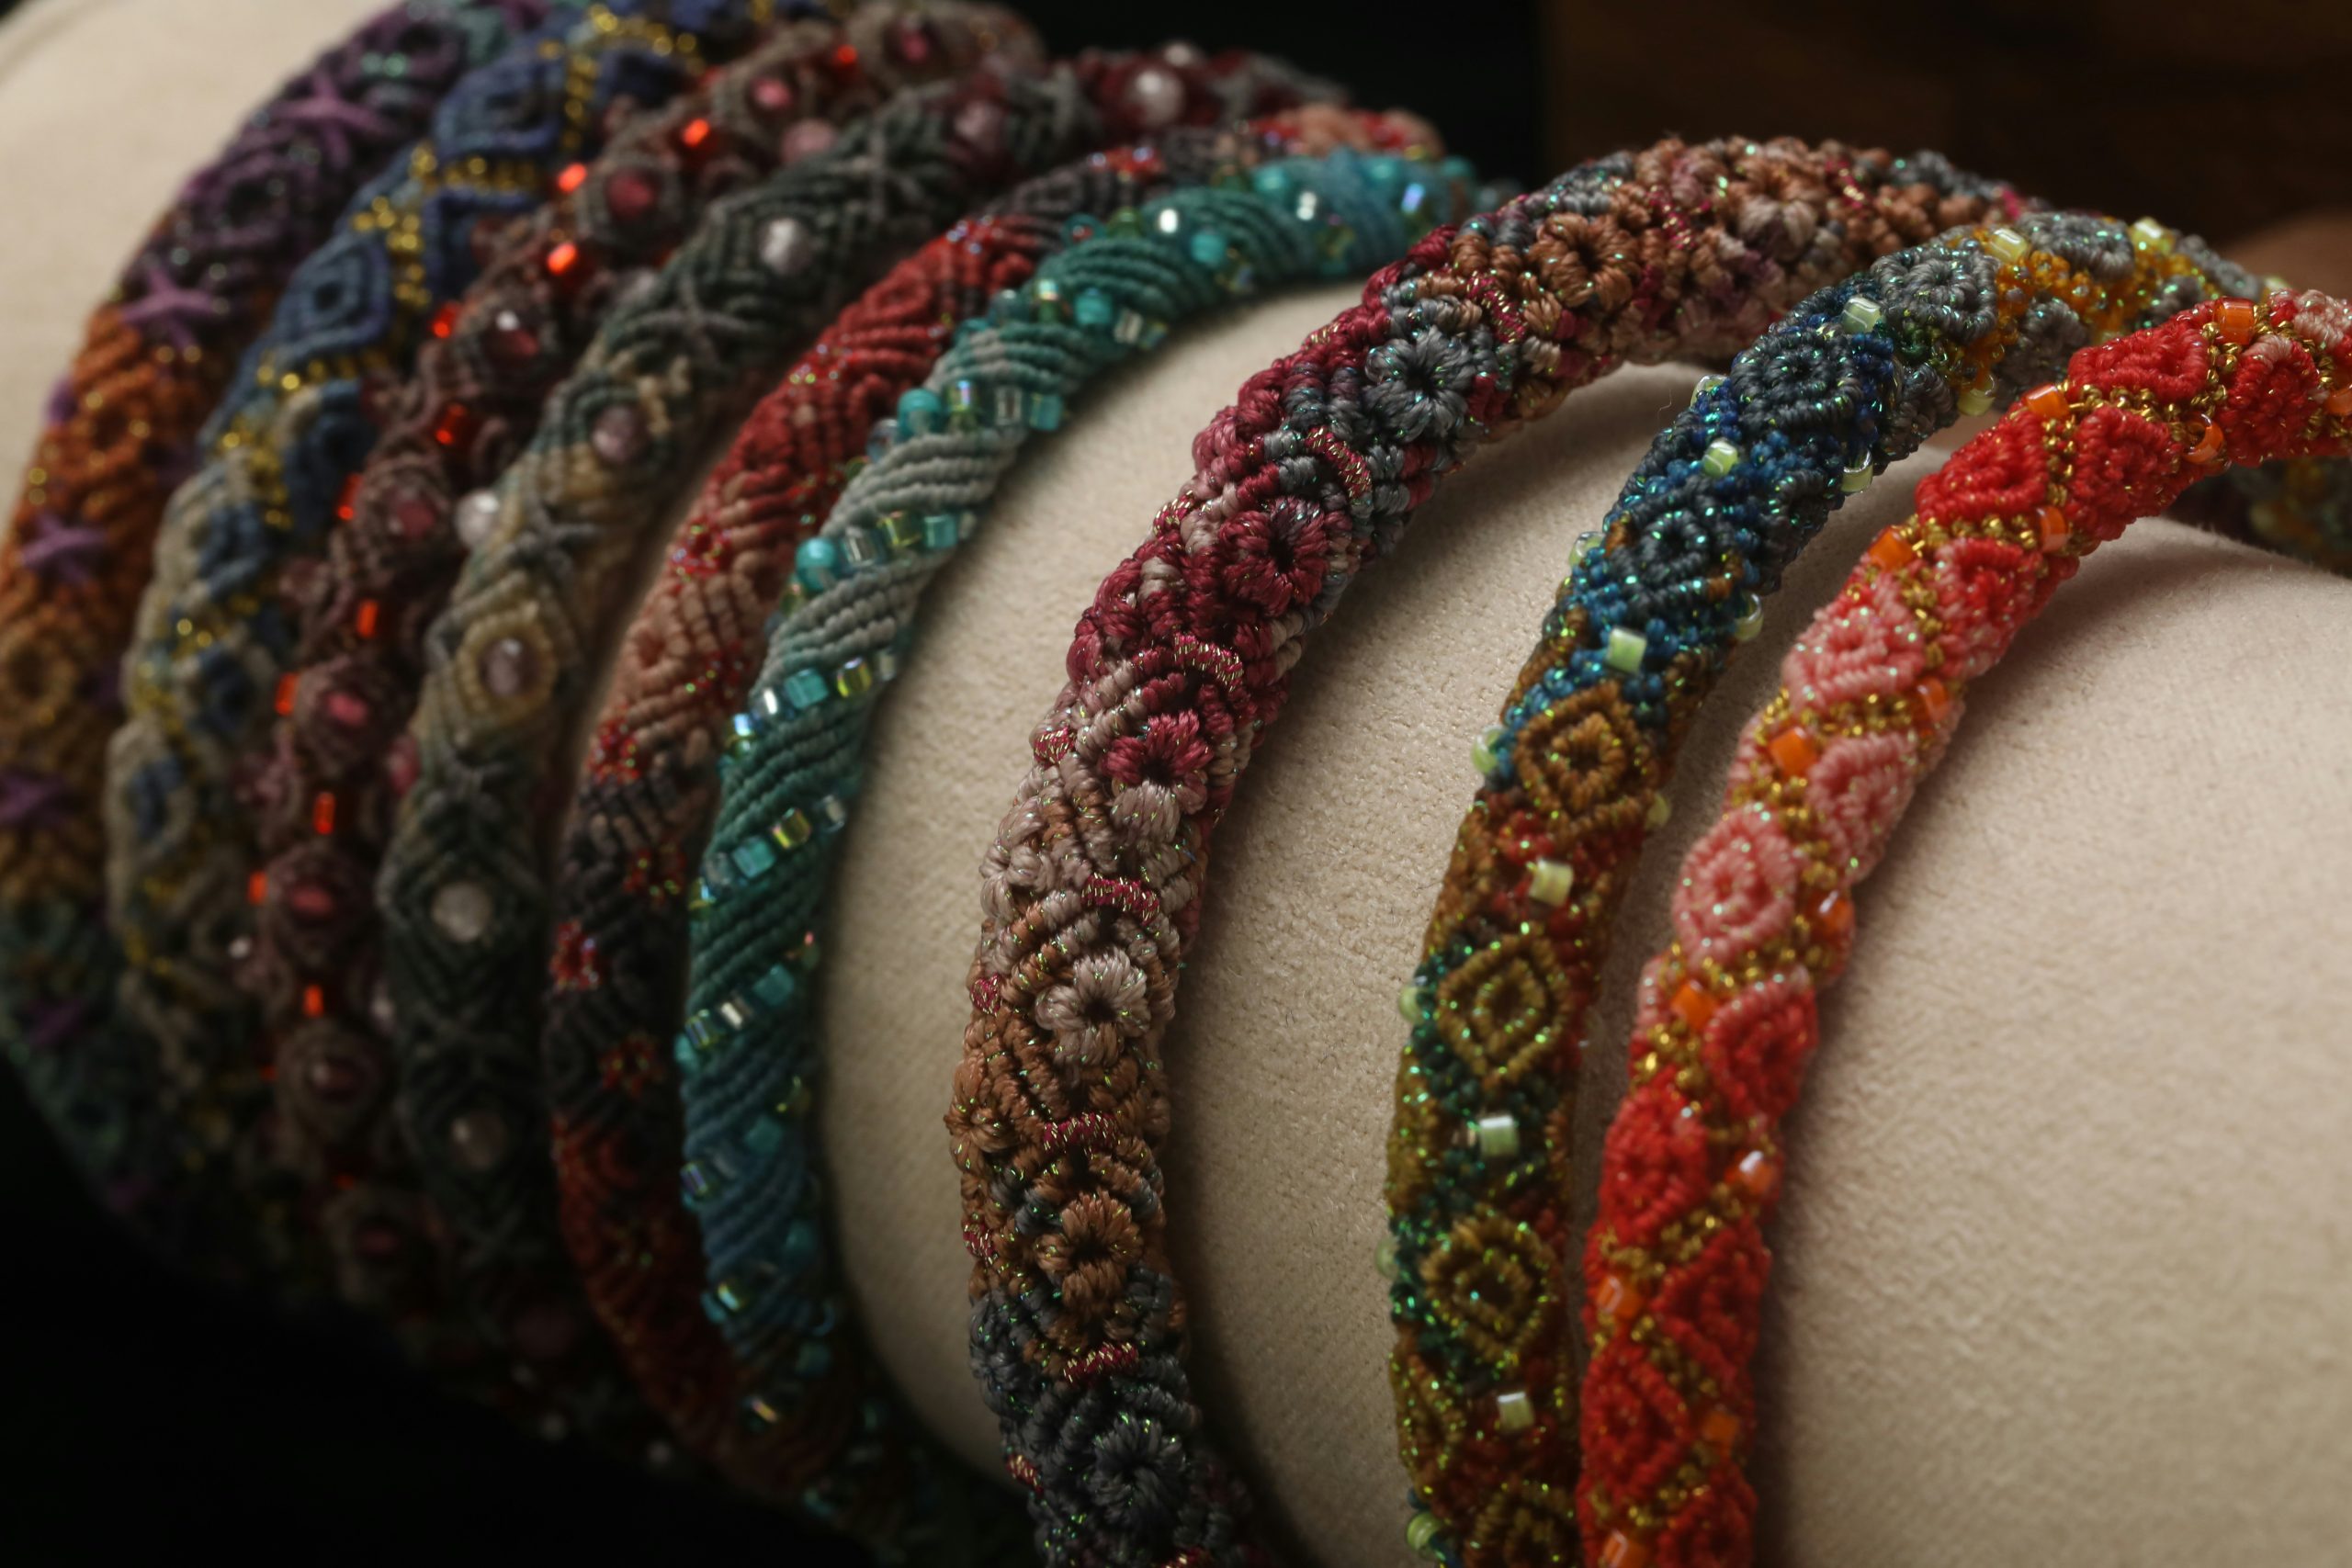
• Mix no more than three bead types per bracelet, or it stops looking like anything.
• Plain glass and one accent bead per drop reads cleaner than every bead being different.
• Wooden beads are warmer-feeling for kids who do not love the cold of glass.
Step-by-Step: Your First Bracelet
Settle in somewhere with a flat surface and a small bowl for the beads. Keep the jump rings in a different bowl from the chain links, or you will spend ten minutes hunting for them.
1. Cut the chain to wrist length plus the clasp. About 18 cm for an adult, 14 cm for a child. Side cutters give the cleanest cut.
2. Thread a bead onto a headpin so it sits at the bottom.
3. Trim the headpin to roughly 10 mm above the bead. This is the wire you will turn into a loop.
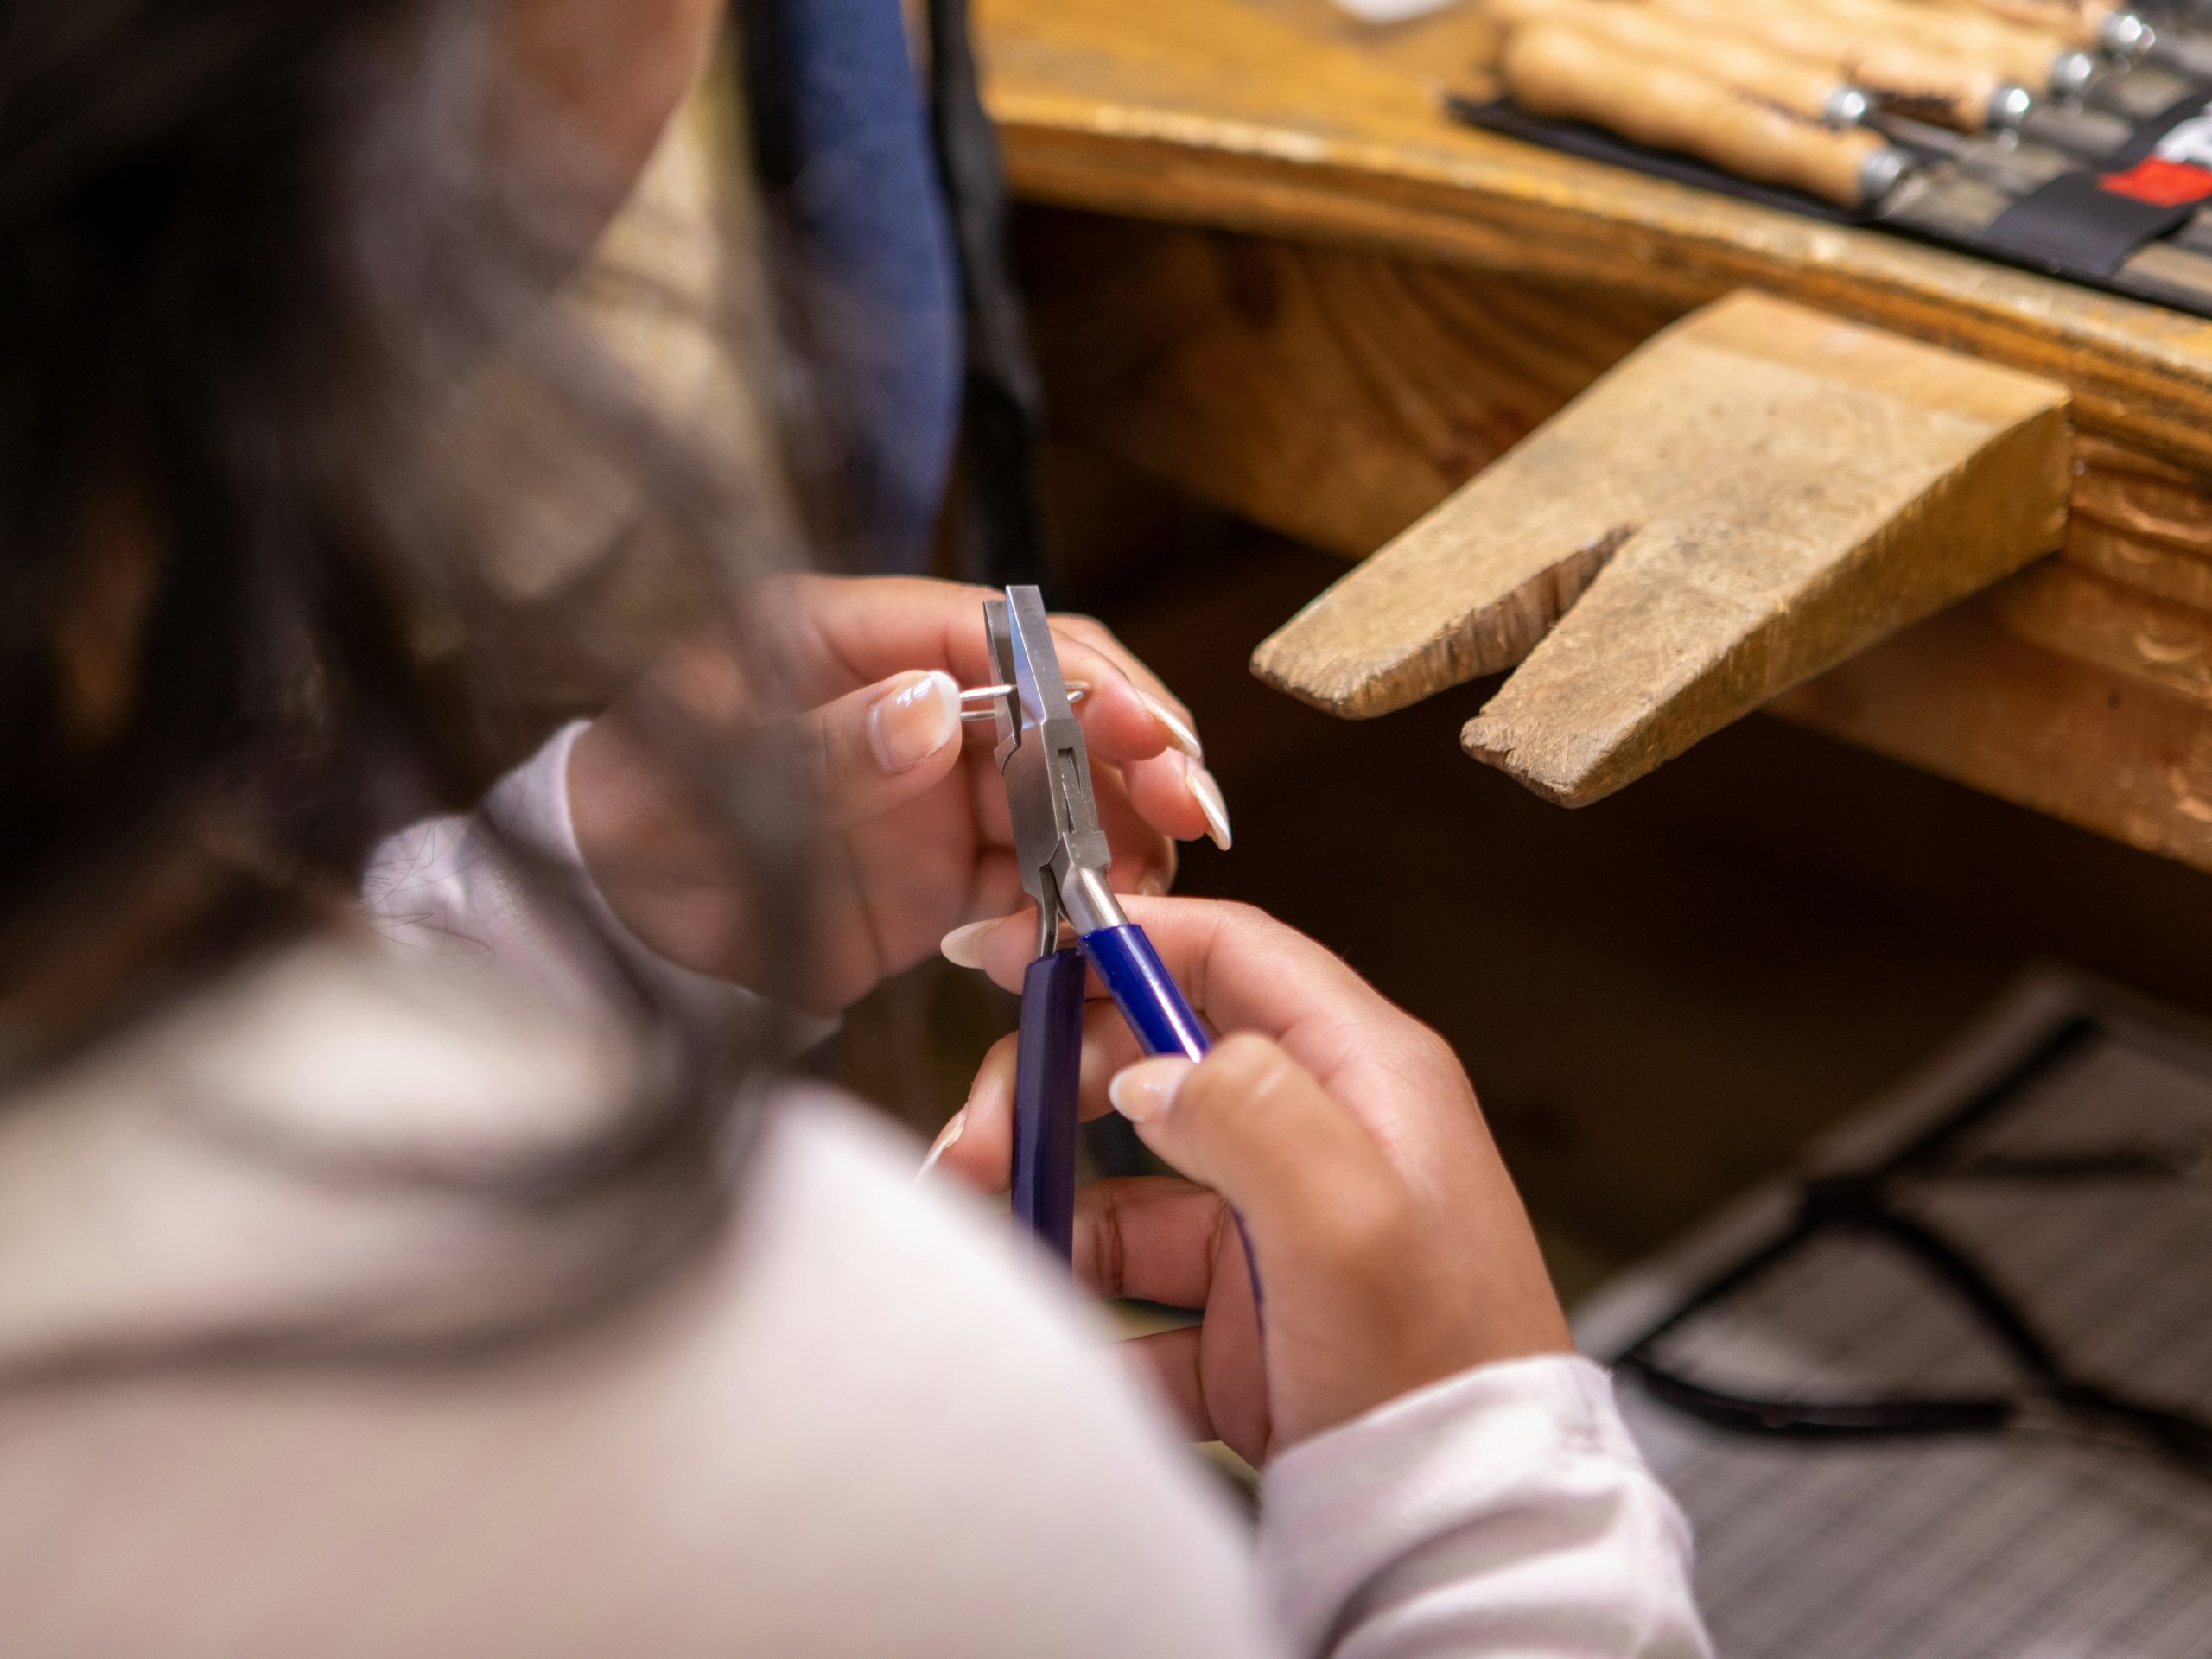
4. Form a loop with round-nose pliers. This is the moment that decides whether the bracelet looks shop-bought or homemade-in-the-rough-way. Grip the wire about 2 mm from the cut end with the round-nose tips, then rotate your wrist away from you until the wire wraps round the jaw and meets the bead.
This is also the point where the right pliers really matter. Round-nose pliers come in two shapes. Traditional ones taper to a point and grip the wire on a converging angle, which means the loop comes out conical and the wire often slips. Parallel-action pliers move the jaws straight up and down, so they grip the wire evenly along the whole length of the jaw and the loop comes out round.
Maun’s fine nose round jaws parallel pliers are the set we tried, with smooth jaws that do not mark plated headpins, useful when you are using silver- or gold-coloured findings that scratch easily. The 1 mm tip diameter is small enough for delicate work, and the parallel action means you can form loops of consistent size by gripping at the same point each time.
5. Open a jump ring by twisting it sideways with the snipe-nose pliers. Do not pull the gap open, as that distorts the round shape.
6. Slide the loop and a chain link onto the open jump ring, then close it the same way.
Repeat for as many beads as you want on the bracelet. We did three drops spaced across the front. A more grown-up look uses one or two.
Common Beginner Mistakes
• Loops too big. You did not trim enough wire. Aim for 10 mm above the bead, not 15 mm.
• Crushed beads. You squeezed the pliers too hard onto a glass bead. Hold the bead between fingers, not in the pliers.
• Jump rings out of round. You pulled the gap open instead of twisting it sideways. Snipe-nose has flat jaws on purpose for this.
• Wire scratches on plated findings. This is a pliers problem. Smooth-jawed pliers solve it; serrated ones do not (source).
The Tools Worth Buying Once
 A decent pair of round-nose pliers will outlast the craft phase by a decade and will still be there when she wants to make her own earrings at fifteen. We have learned the hard way that £6 high-street pliers wear out fast and chew up the wire while they go. A specialist pair from a maker like Maun, which has been making pliers in Nottinghamshire since 1944 and develops bespoke tools alongside everyday ranges, is the kind of small investment that pays
back across years of birthday-present-making (source).
If you only buy one, make it the round-nose. The snipe-nose is helpful, but household pliers will limp through opening jump rings. Nothing else forms a loop the way round-nose does.
A Quiet Afternoon, Not a Project
 This is the kind of thing that filled three rainy hours and gave us something to wear the next day. Research on family craft activities suggests they support social-emotional development in young children and create conversational moments more naturally than scheduled activities do (source), and from the looks of our kitchen table, that tracks.
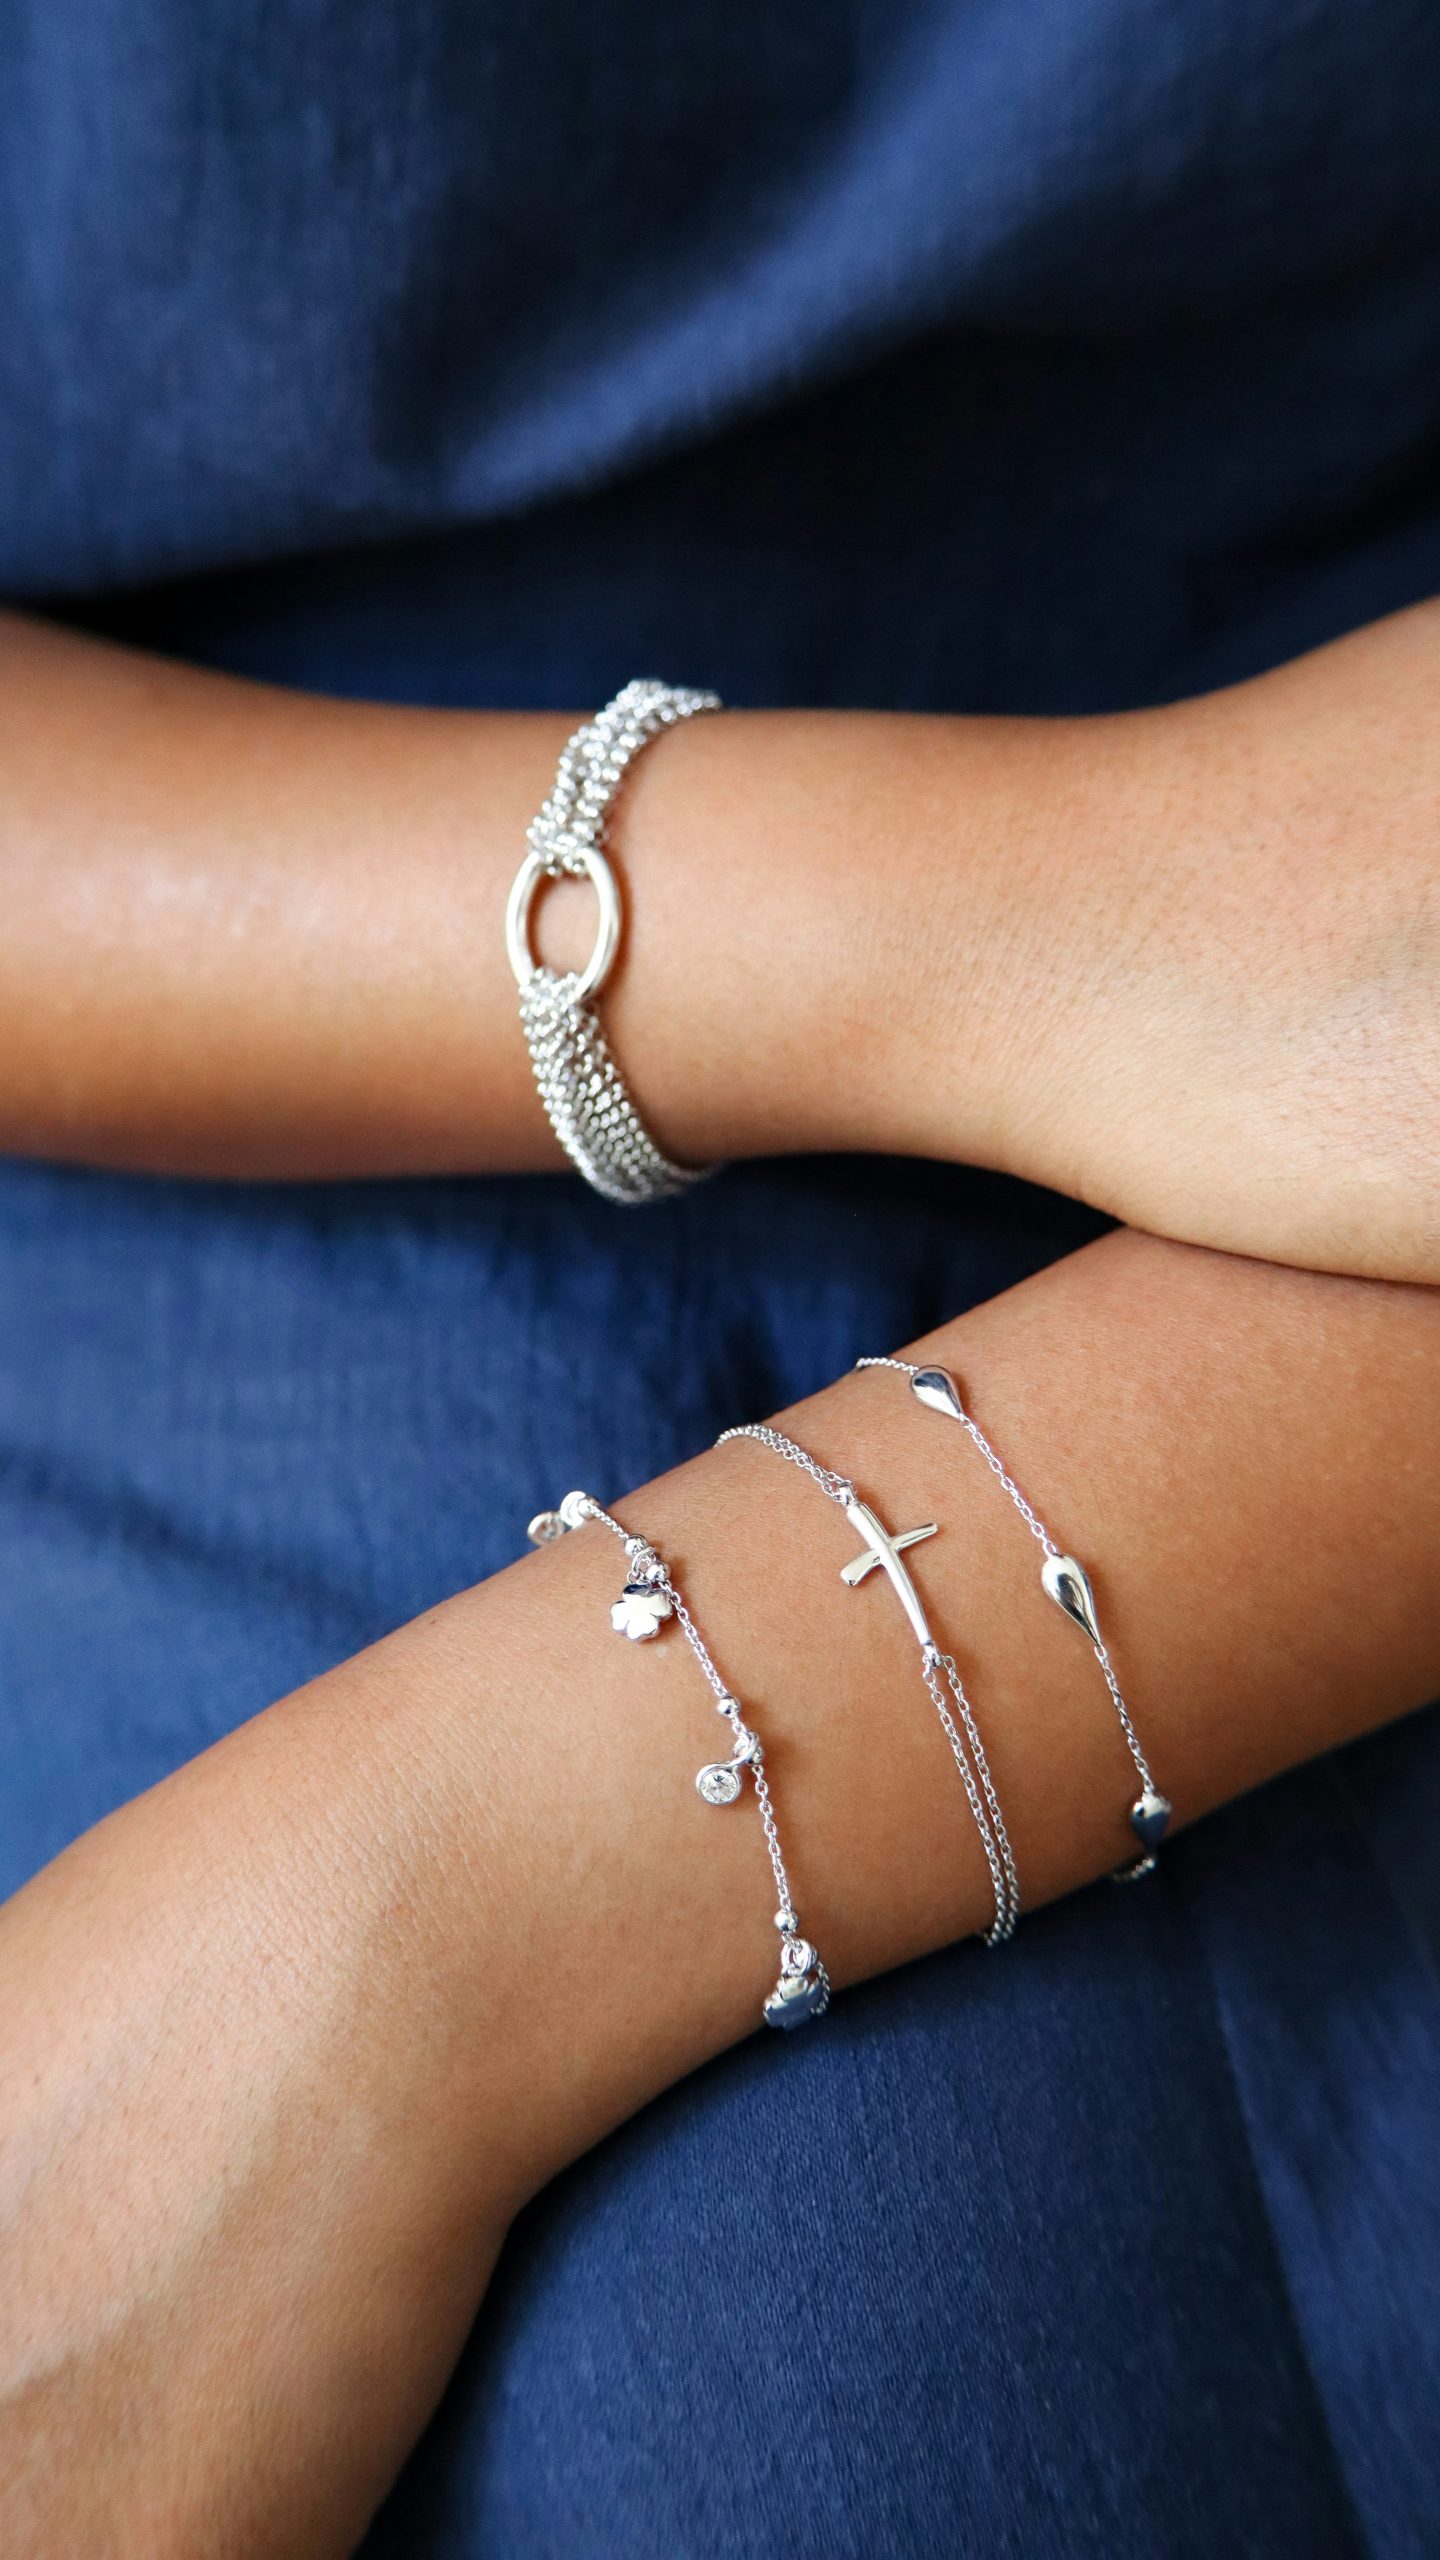
If you make some, I would love to see them tagged in the comments. There is something quietly satisfying about a finished bracelet on a small wrist that has been turning it over to admire it for the last hour.
")


These look so fun to do and my girls would love a weekend of making bracelets , they are super crafty