
This is a sponsored conversation written by me on behalf of Cricut. The opinions and text are all mine.
Over the last few weeks I’ve shared a few projects made with my Cricut Maker. These include the personalised vinyl name sticker I decorated my Cricut Maker with, as well as the tea towel I made – which I can confirm has washed beautifully.
Today I wanted to share another tutorial with you. My daughter loves rainbows so I used my Cricut Maker to make some rainbow wall art for her bedroom.
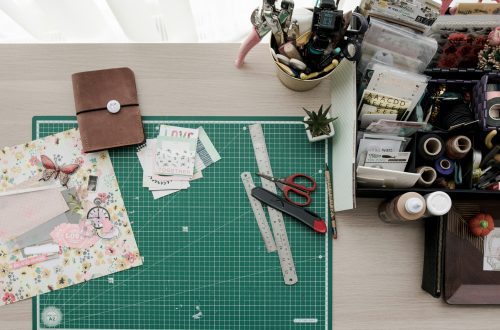
Supplies needed:
Heavy Chipboard 2.0mm
Standard Grip mat
Masking Tape
Cricut Knife blade
Metallic acrylic paint
Metallic adhesive foil
Box frame
Patterned backing paper
Bostik Glu Dots
How to make rainbow wall art with your Cricut Maker
I wanted to make a 3D rainbow so found a suitable rainbow in Cricut Design Space. I wanted it to be pretty robust so bought some 2mm heavy chipboard and a Knife blade. When I set the project up it recommended using a strong grip cutting mat but I didn’t have one. Instead I used masking tape to secure my chipboard to the Standard Grip mat.

Then I placed the Cricut Knife blade inside the Cricut Maker and set the project going.

I actually had to cut the rainbow out twice as the first time I placed the chipboard too close to the edge of the mat. There were a lot of cuts with this project and it took a good 20 minutes to complete cutting.
I removed the mat from the Cricut Maker and carefully pressed out the five pieces of chipboard from the board.

I then painted the five different parts of the chipboard rainbow using metallic acrylic paints. I gave each piece two coats as the paint was absorbed quickly.

Whilst the paint was drying I used my Cricut Maker to cut out my daughter’s name using metallic adhesive foil.
I also chose a piece of patterned paper to back my box frame and cut this to size.

I assembled everything I needed to put my rainbow box frame together – the patterned backing paper, painted rainbow and vinyl name.

Using Bostik Glue Dots I glued the different parts of the rainbow together and positioned it in place on the backing paper. Finally I positioned my daughter’s name above the rainbow and removed the transfer tape.
I think it makes a lovely piece of personalised wall art using my Cricut Maker and, thankfully, my daughter agrees!


I love what you have made using the cricut! You have a creative eye, this makes me want To start crafting my own gifts!
That is so clever and what a fabulous way to decorate a childs bedroom
You’ve done such a good job and you make it look easy! Mich x
What a lovely personalised pic. I would LOVE a Cricut. I just don’t think I would leave the house! 😀
Such a creative way to come up with a wall art. I love doing this kind of stuff.
That wall art is incredible, so pretty! A Cricut sounds like a device any lover of crafting should have!
What a great idea and a lovely way to add decoration to a room x
This is such a clever tutorial, though I don’t have a cricut i do want to try a similar wall art.
Aww this looks so cute, would make a wonderful gift idea for a baby shower or similar. I love how versatile the Cricut machine is