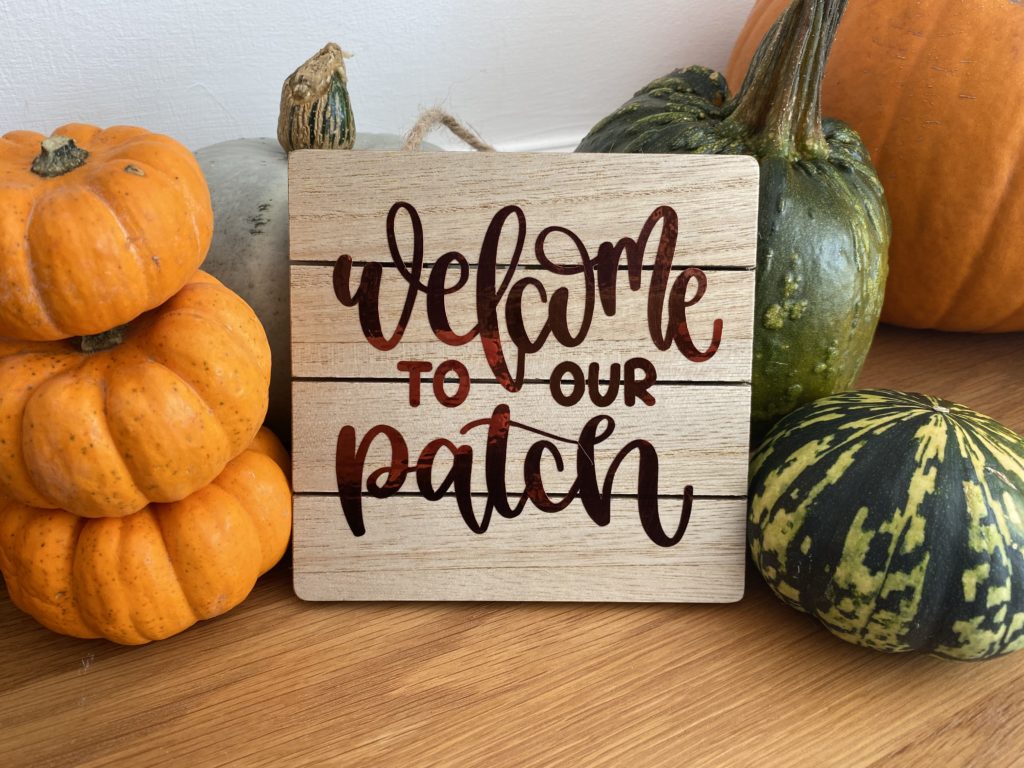
After our visit to the pumpkin patch over the weekend I was excited to use the pumpkins we picked to decorate our home. We made sure to pick as many varieties as we could to make a really colourful pumpkin display. I bought a cheap and cheerful wooden plaque blank for Hobbycraft and used my Cricut Maker to cut a cute little vinyl decal. It looks super cute!
Pumpkin patch sign supplies:
Cricut Maker
Cricut adhesive foil
Standard Grip Mat
Cricut Transfer tape
Cricut Basic Tools set
Cricut paper guillotine
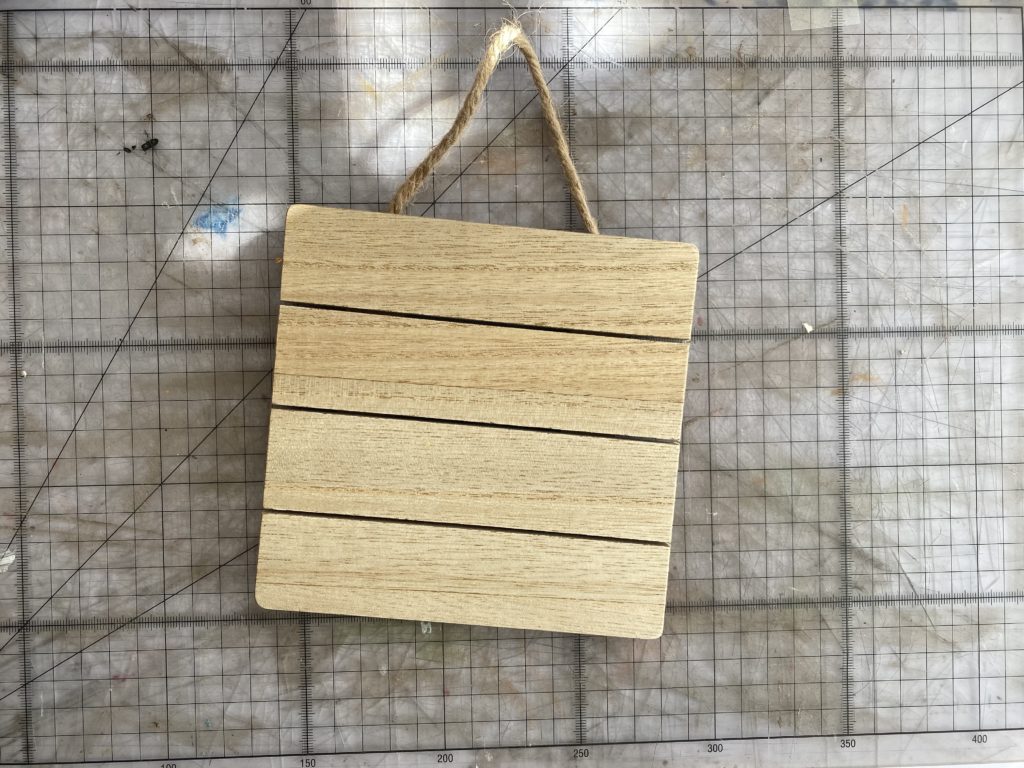
wooden square wall plaque (from Hobbycraft)
free pumpkin sign on Cricut Design Space – search “pumpkin sign”
How to craft a pumpkin patch sign
I found the free pumpkin sign on Cricut Design Space. There are loads you can use for free but I knew this would fit perfectly on the wooden plaque I had.
I measured the wooden plaque and re-sized the design to make sure it fitted.
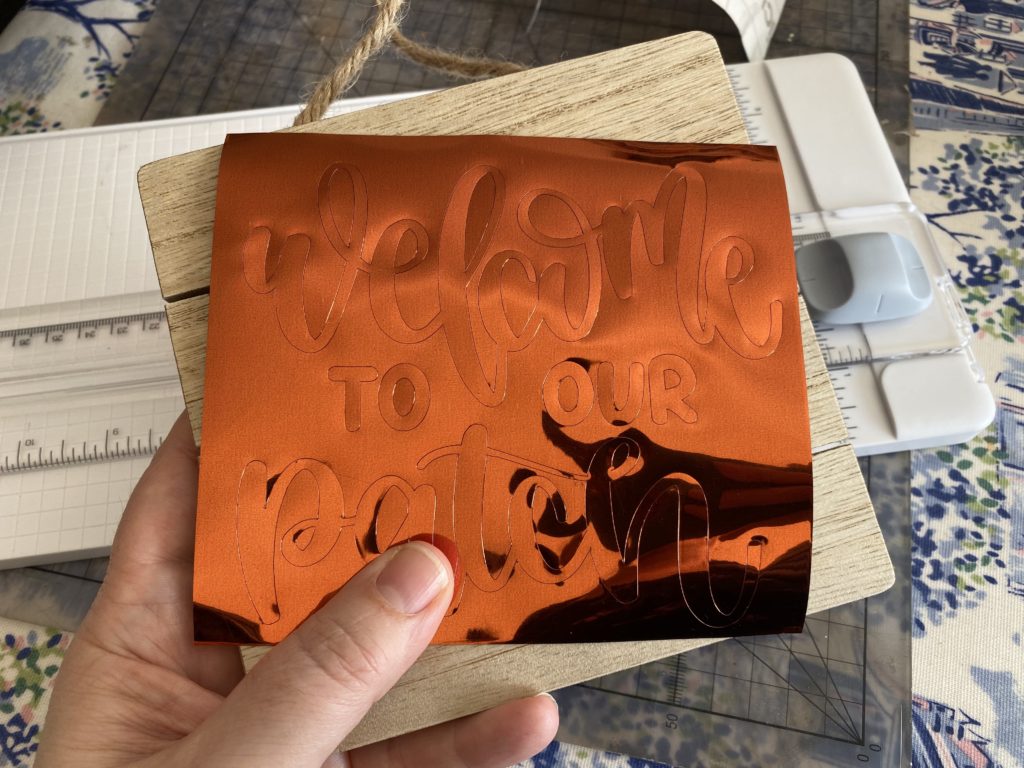
I picked a gorgeous vinyl from my off cuts to use, placed it on the Standard Grip Mat and set my machine to cut.
It didn’t take long to cut and I removed it from the mat. I then trimmed the sign using my Cricut paper guillotine and started to weed the surplus away.
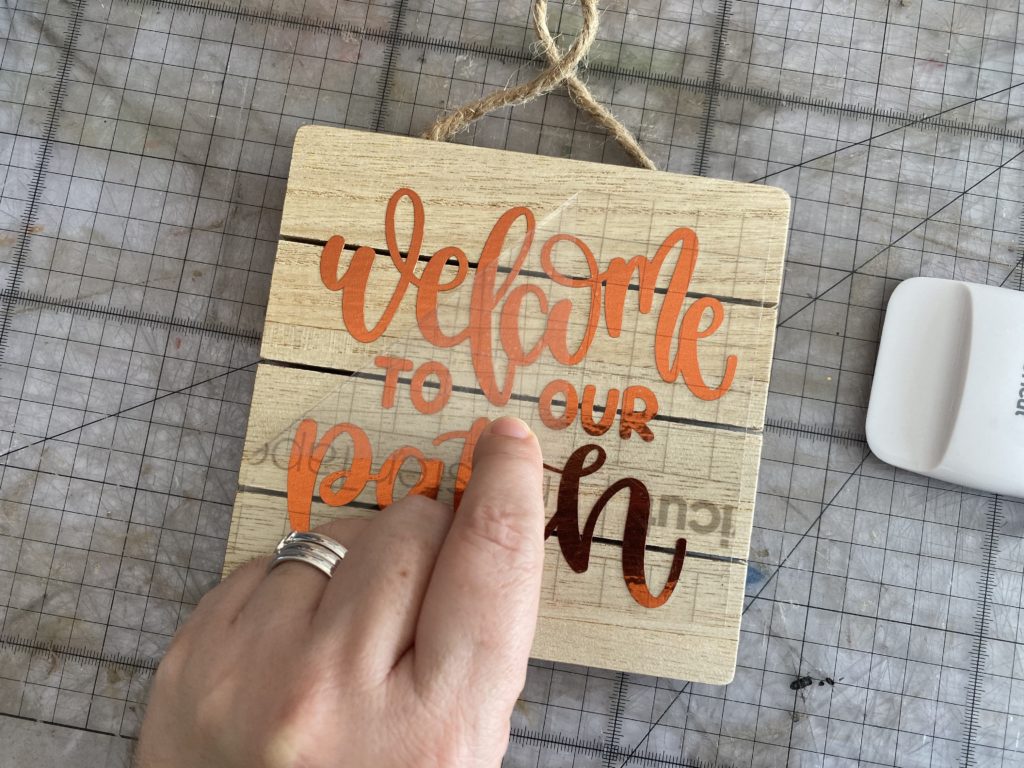
I placed a piece of Cricut Transfer tape over the design and placed it on my wooden blank. I carefully removed the Transfer Tape to reveal the sign.
I love our little pumpkin patch sign. The kids had fun re-arranging all our colourful pumpkins and squashes to make a lovely seasonal display.
You may be interested in some of our other Cricut posts:


One comment on “How to craft a pumpkin patch sign”