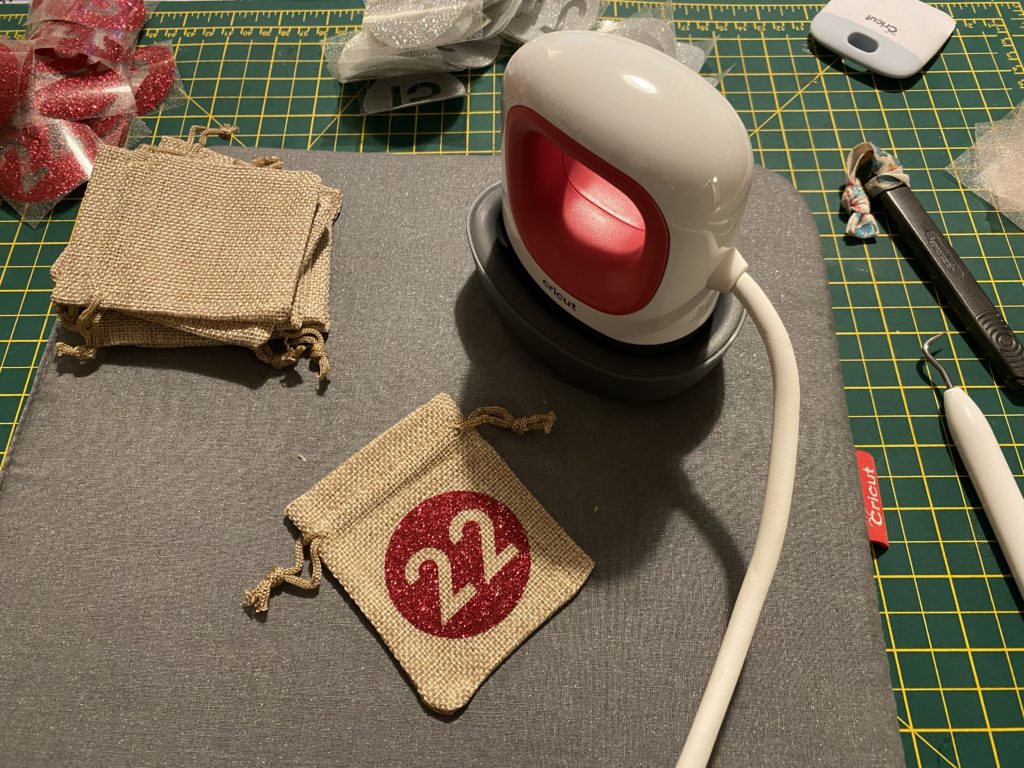
Last week my Cricut EasyPress Mini arrived and I couldn’t wait to play with it. I saw it at the Cricut Meet and Greet I went to last month and loved the size. I already have the Cricut EasyPress2 which is great for bags and t-shirts but I wanted something smaller. I knew I was going to make the children a re-useable advent calendar and wanted to use the Mini to decorate the little jute bags I had picked.
About the Cricut EasyPress Mini
The Cricut Mini EasyPress has been designed to make detailed heat transfers easier than ever. It has all the reliability of the standard EasyPress, but this mini model allows you to transfer designs onto small items, such as baby shoes, hats, stuffed animals and more.
It’s easy to use with only three heat settings, one of which is designed for permanent Cricut Infusible Ink transfers.
It has a ceramic-coated heat plate for dry and even heat. Safety features include an insulated base and an auto-shutoff feature.
I was really excited to use it and had the perfect project in mind, the small advent bags I designed for my children’s advent calendars.
Re-useable advent calendar bags
This year both the children asked for advent calendars which I couldn’t find anywhere! Big Brother wanted a Minecraft advent calendar, Little Sis wanted a Pokemon advent calendar! I thought this was a great crafting opportunity and set about making them. Over the last few weeks I’ve been collecting items to go inside small jute bags.
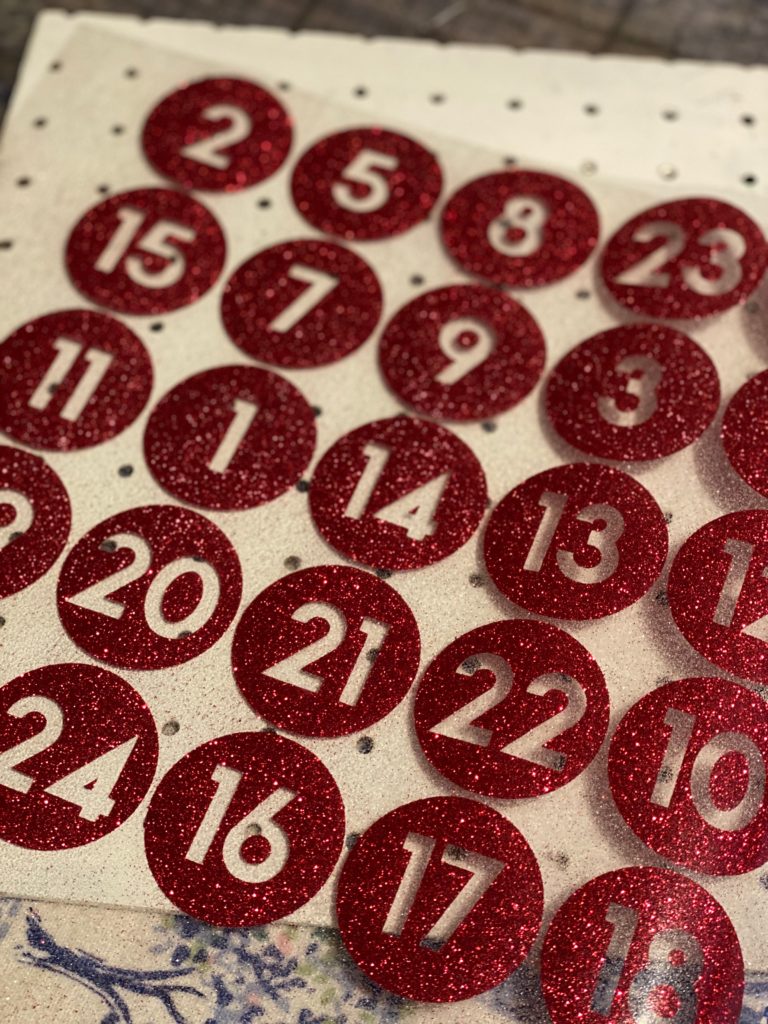
I bought 24 identical just bags and decided to add vinyl numbers to each bag to create an advent countdown. I created the numbers in design space, using the basic circle shape and Font (announcement) for the numbers. I chose sparkly Cricut Glitter vinyl and cut out the numbers, in pink for my daughter and silver for my son.
The numbers were easy to weed and I cut round each one so I could apply them one by one with the EasyPress Mini.
Using my Cricut EasyPress Mini
The EasyPress Mini is so simple to use. You can check the heat setting you need via their website. There are only 3 heat settings so I switched on the correct setting, let it warm up, them followed the instructions to press my vinyl. Like other heat press projects, you heat the base material, press the vinyl then turn over the project and press the other side.
I had 48 bags to press but it didn’t take long and the finished bags looked really professional. I think my EasyPress Mini was a good investment, especially as I bought it from Hochanda using a discount code.
Stay tuned for the final reveal of my handmade advent calendars!




One comment on “Using my Cricut EasyPress Mini”