I saw the cutest little Easter bunny on the cover of a recent issue of Mollie Makes and knew I would have to stitch my own. It needed some things I didn’t have in my crafting supplies so I ordered a doll needle, extra strong thread and the woven wool fabric.
Stitching an Easter bunny
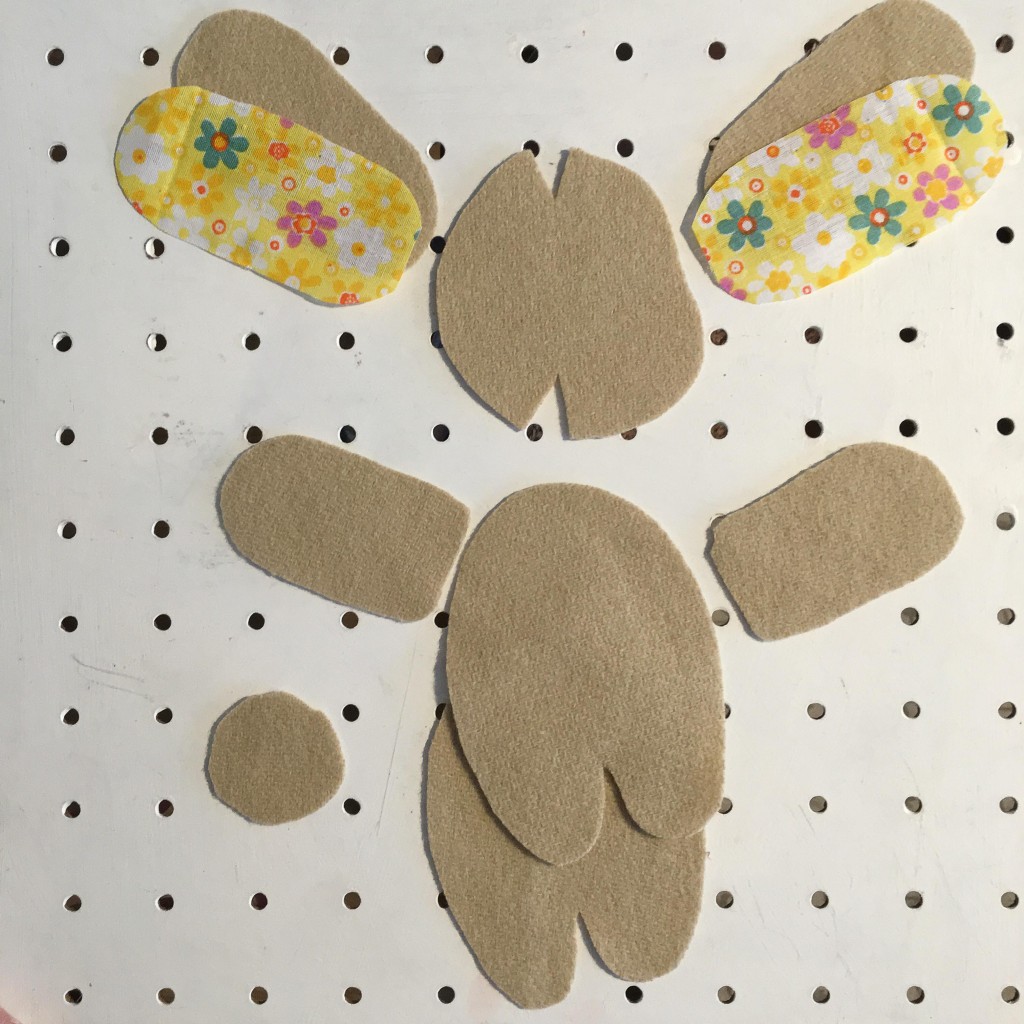
I cut out the templates, using some left over cotton fabric from the Mr Fox and pals kit which was the latest cover gift, then cut out my fabric.

Then I just kept looking at all the pieces and didn’t know where to start. I looked on Instagram using the #molliemakers hashtag to see if anyone else had made one. Only one person had and she said it was really difficult which put me off even more!
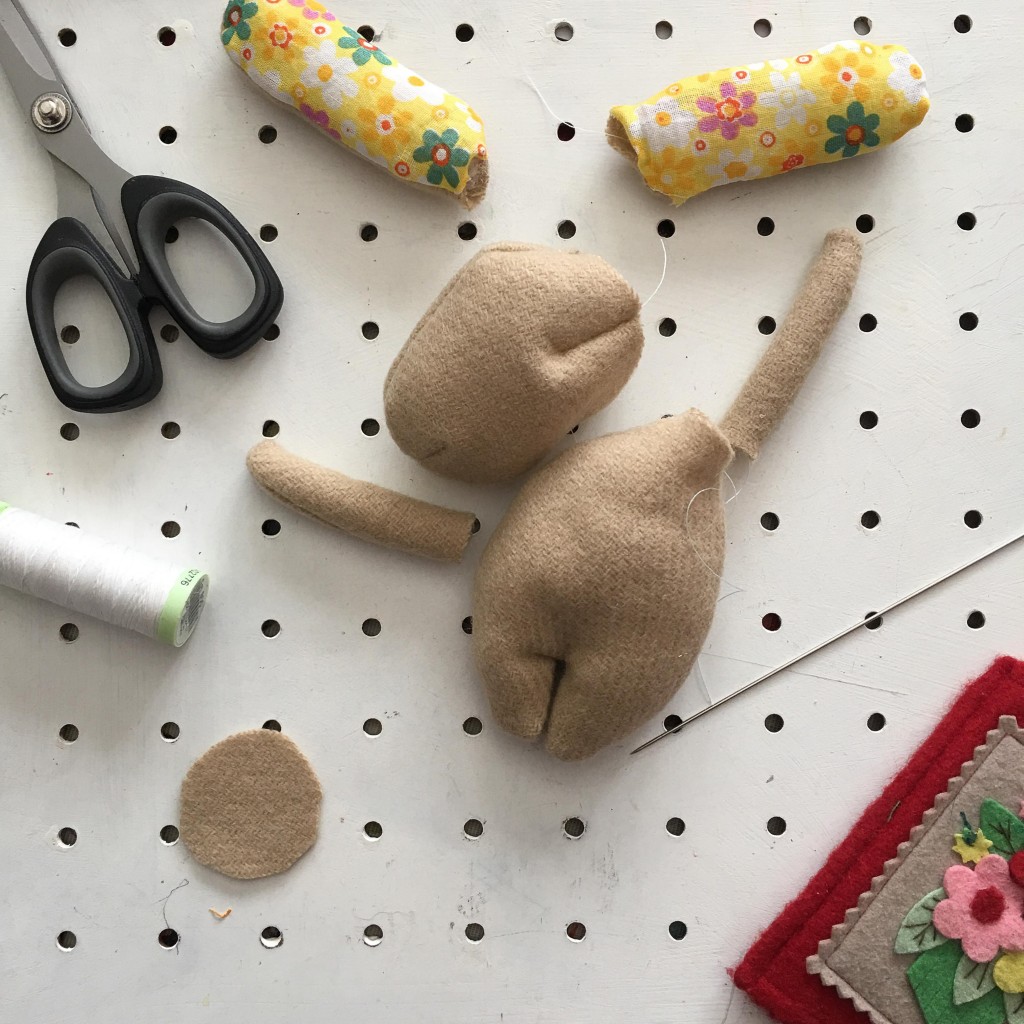
It’s been a busy few days getting ready for my son’s birthday tomorrow but I finally sat down to stitch it. I machine stitched the pieces together first. I’ve never used forceps with a sewing project before but with this little bunny I did! The arms and legs were so small that I don’t think I could have turned and stuffed them without using them.

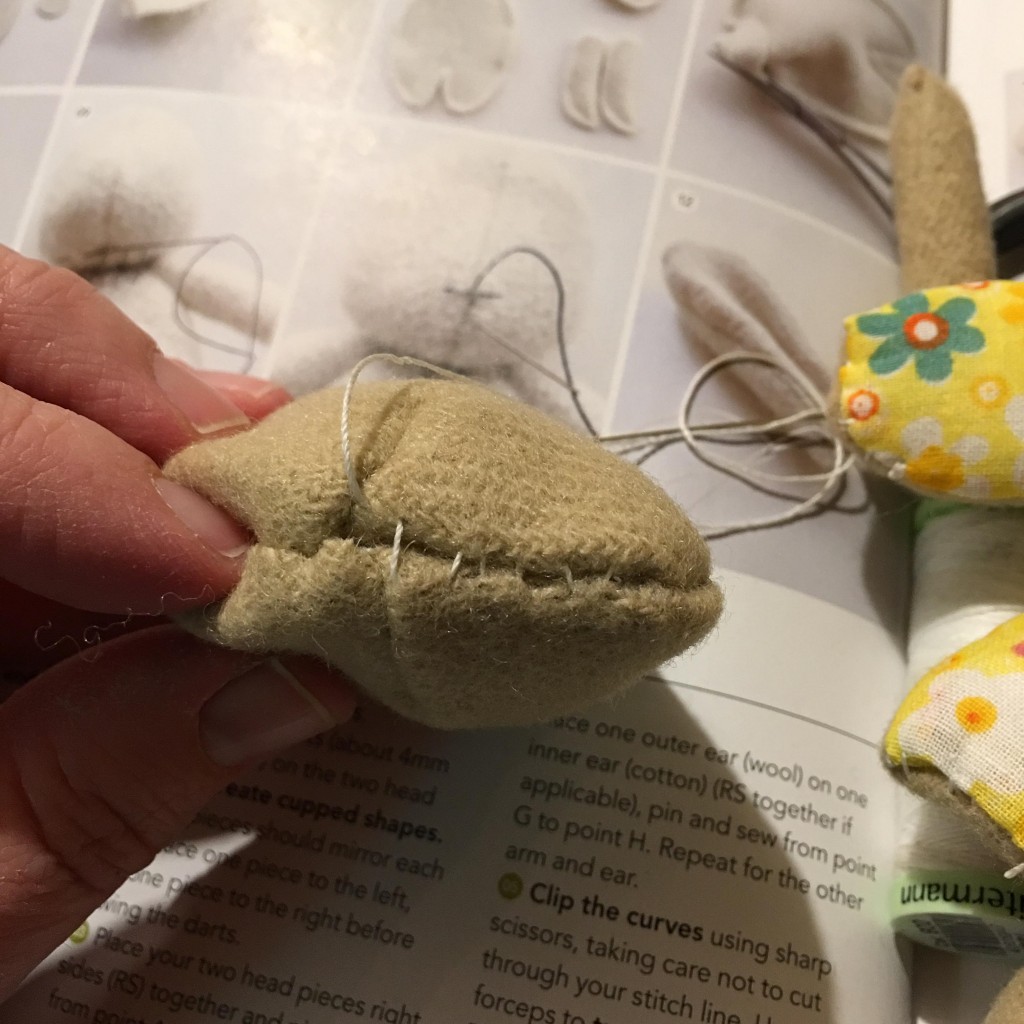
The instructions weren’t always great but the bunny started to come together and I hand stitched him to finish him off last night. I learnt some new techniques such as ladder stitch which was fun.

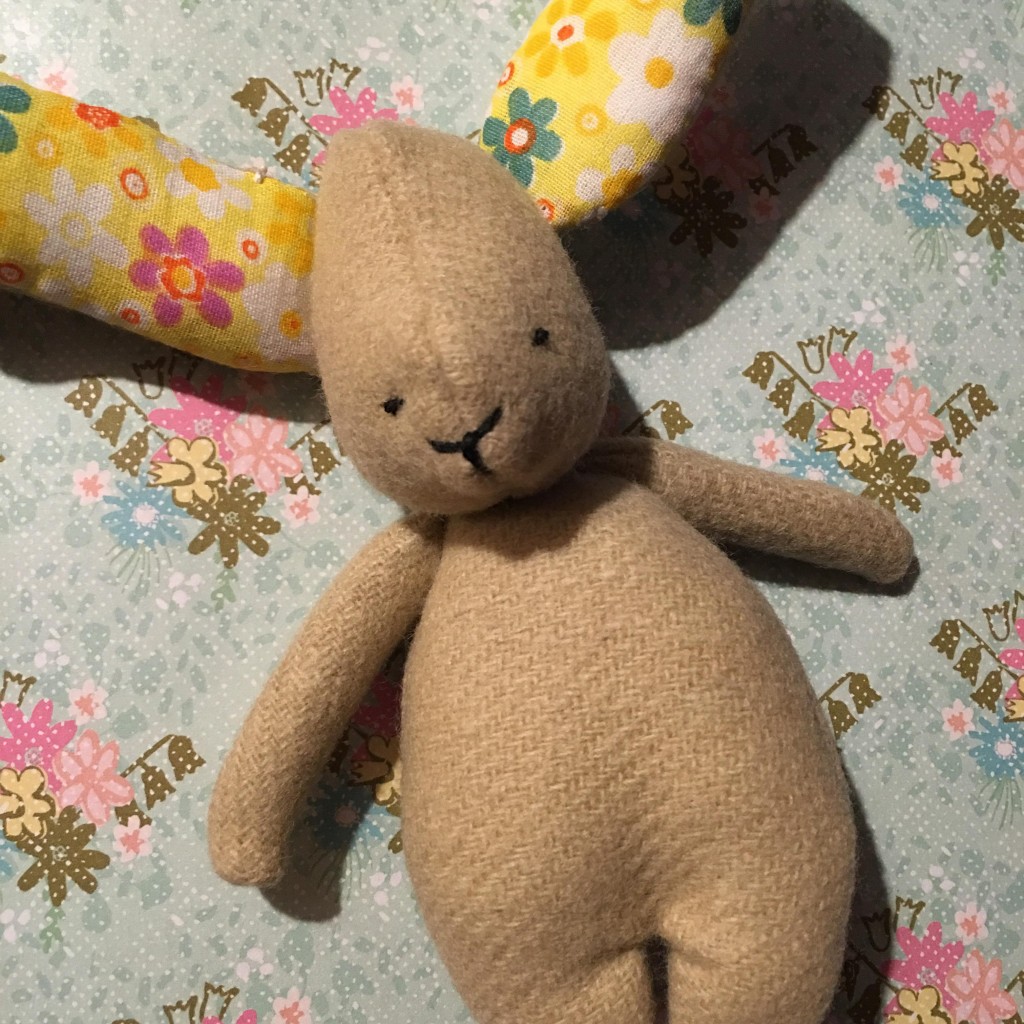
The extra strong thread was really useful as everything came together and eventually I had my own little Easter bunny. I slightly overstuffed the ears but with Easter around the corner, and 30 excited 5 and 6 year olds helping to celebrate my son’s birthday this weekend, I have more important things to worry about right now.
Our little Easter bunny sits nicely in a tea cup on the mantlepiece and is placed well away from my children so I can enjoy him.


1 Comment
Jen V
March 17, 2016 at 2:28 pmThat turned out really cute! I love the fabric you chose for the ears.