

Now that the countdown to Christmas has begun (we only start celebrating from the 1st of December!) today seemed like the perfect day to share a tutorial on how to make personalised Christmas letter bunting using Photoshop Elements 2018. I love making handmade decorations and this is a great way to use some of your favourite seasonal photographs at Christmas time.
This is a sponsored post on behalf of Adobe Photoshop Elements 2018
We don’t put our Christmas tree up until the middle of the month, but smaller decorations make an appearance, along with our advent calendars. This year I wanted to make a letter bunting decoration for our living room. The children are growing up far too quickly and this seemed like a good way to use and display some of my favourite, festive photos of them. I spent a lovely half an hour looking through my photos of Christmases past.
Personalised bunting is always fun to create and can be used for so many celebrations. I love my family photographs – they are so precious to me and brilliant for crafting with. I thought I would go one step further with the photograph bunting and make a letter for each bunting flag to spell out a seasonal greeting. I knew Photoshop Elements would be perfect for this as some of the Guided Edits would do all the hard work for me, like I showed you in the Silhouette Wall Art I created last month!
Equipment needed to make personalised Christmas Letter Bunting
Photoshop Elements 2018
Selection of family photographs
Photo paper
Laser printer
Cutting mat and craft knife
If you haven’t yet got a copy of Adobe Photoshop 2018 then don’t worry as you can get a free trial of the software for 30 days. I totally recommend you give it a try as it’s such a great way to get more from your photos.
Tutorial for Making Personalised Christmas Letter Bunting using Photoshop Elements 2018
First, I put my selected photos into a folder and opened up Photoshop Elements. Then, I went to Guided Edits and selected the Watercolour Effect. I had great fun playing around with this.
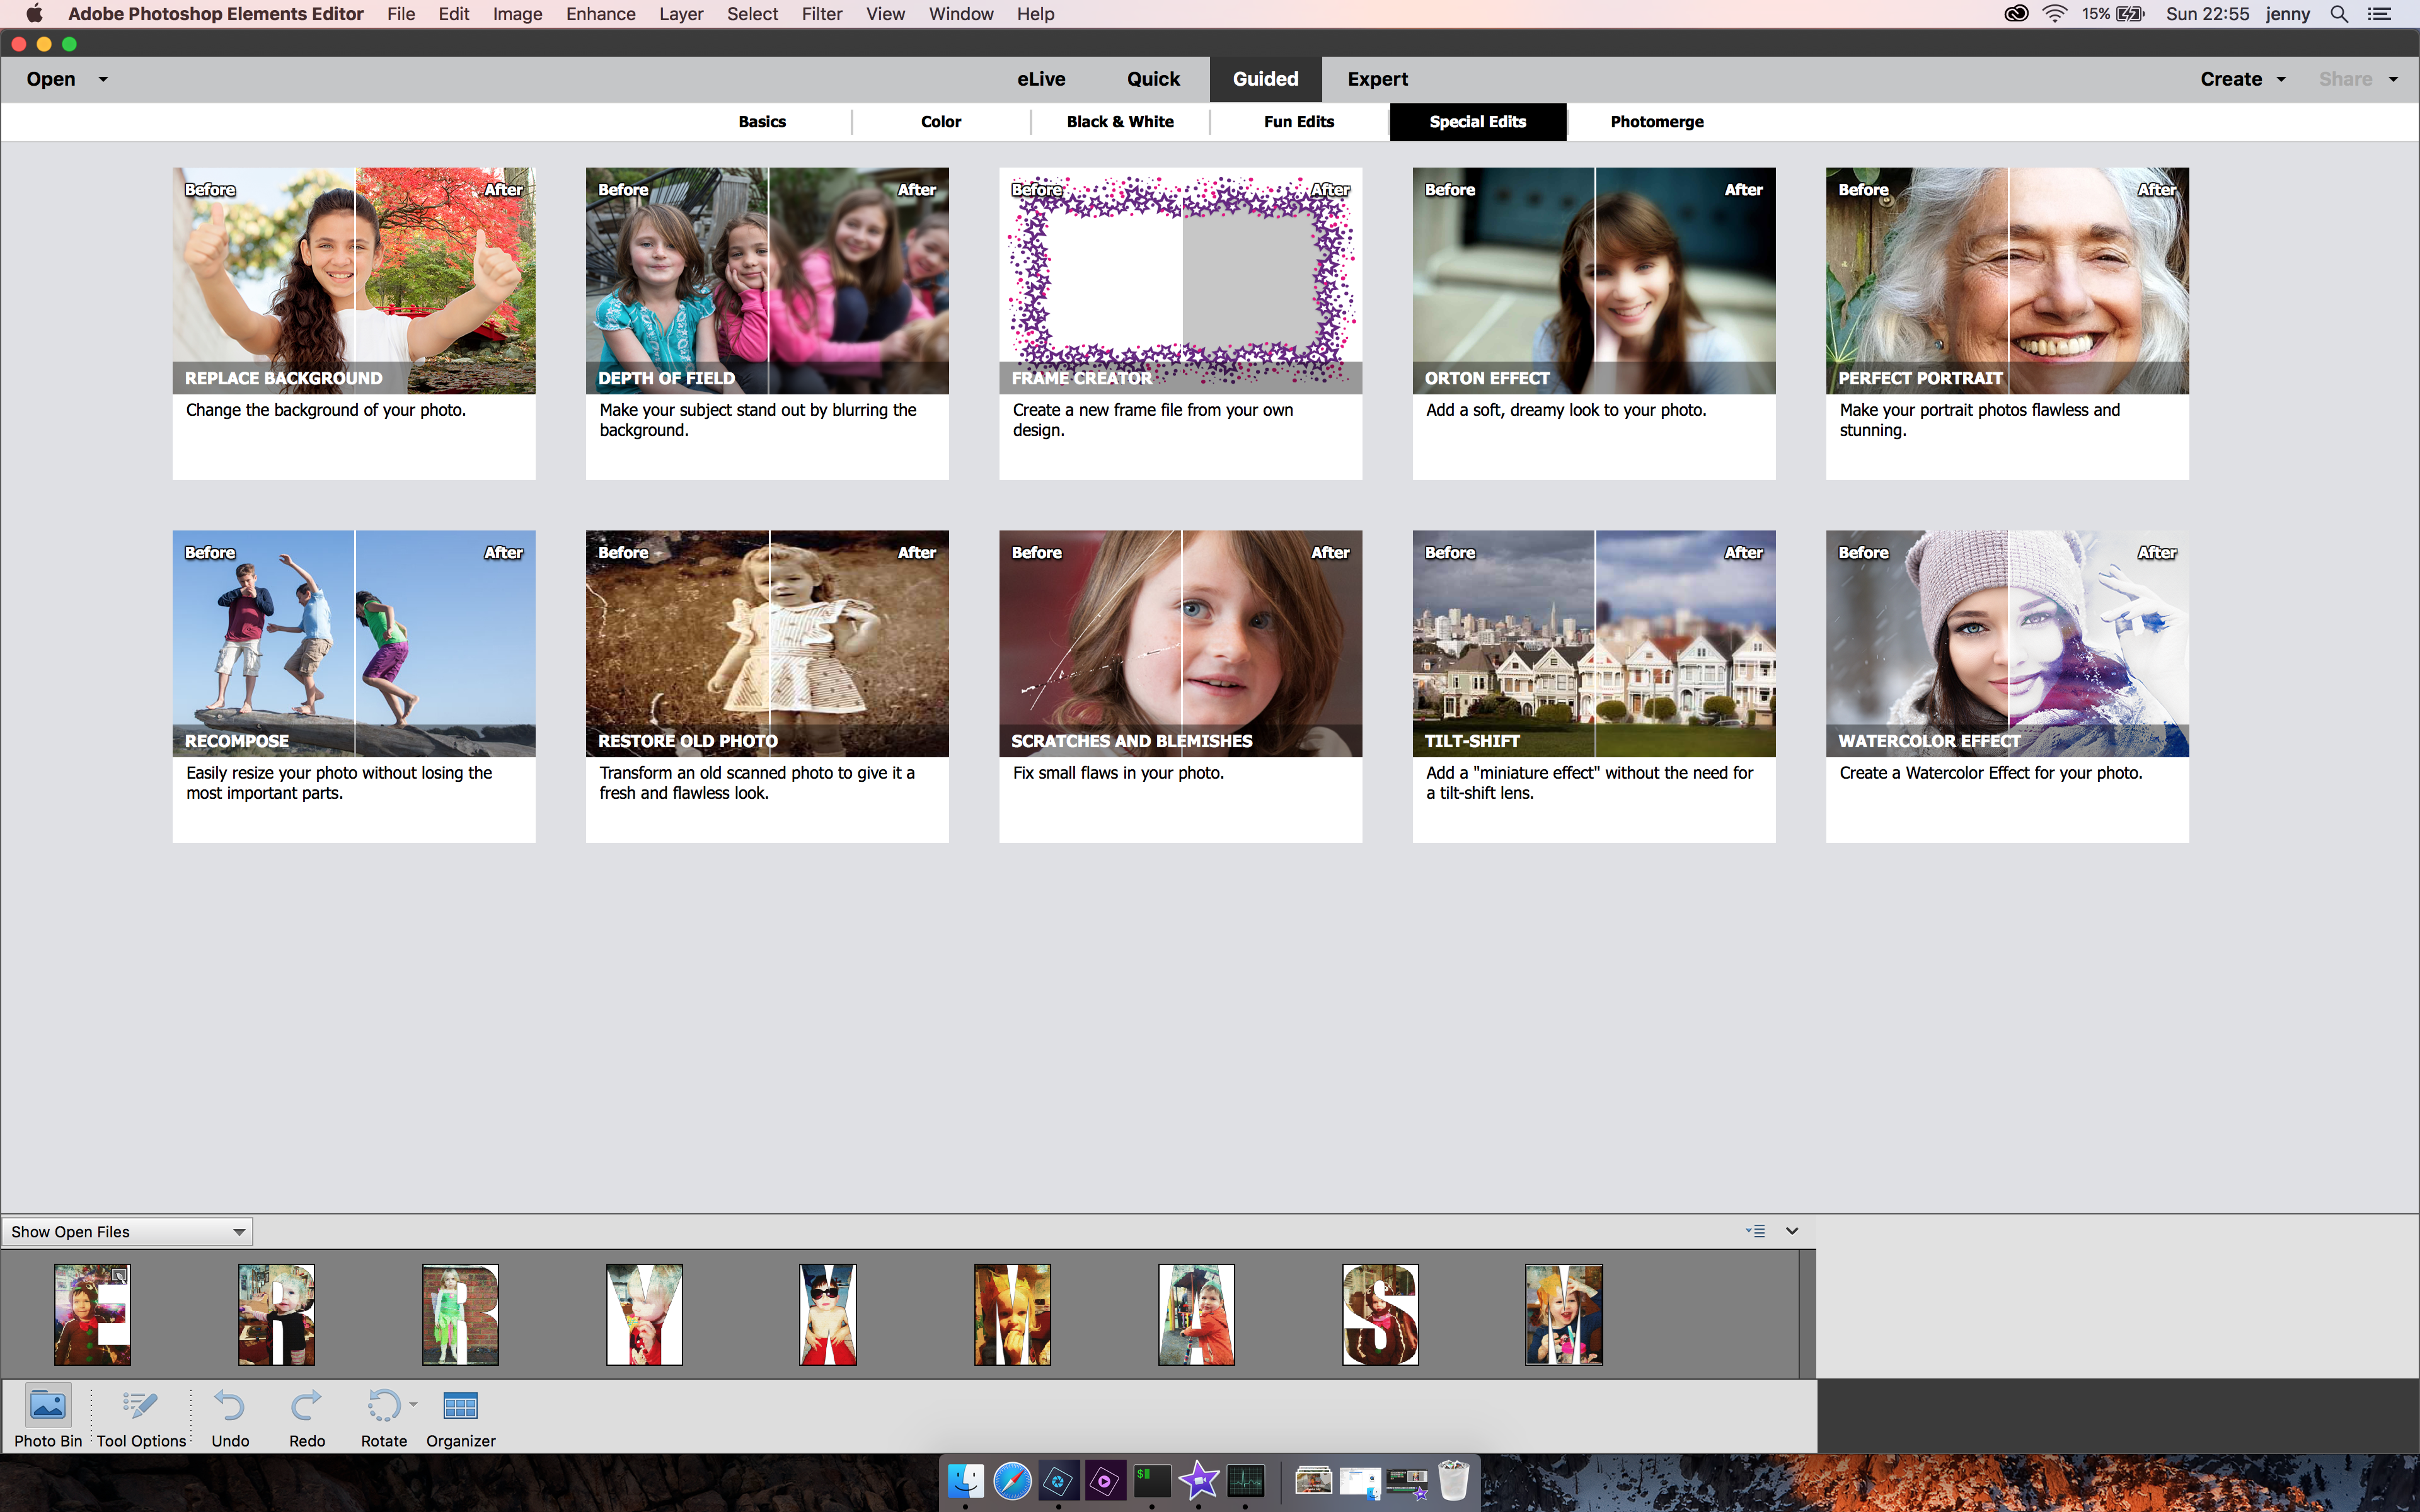
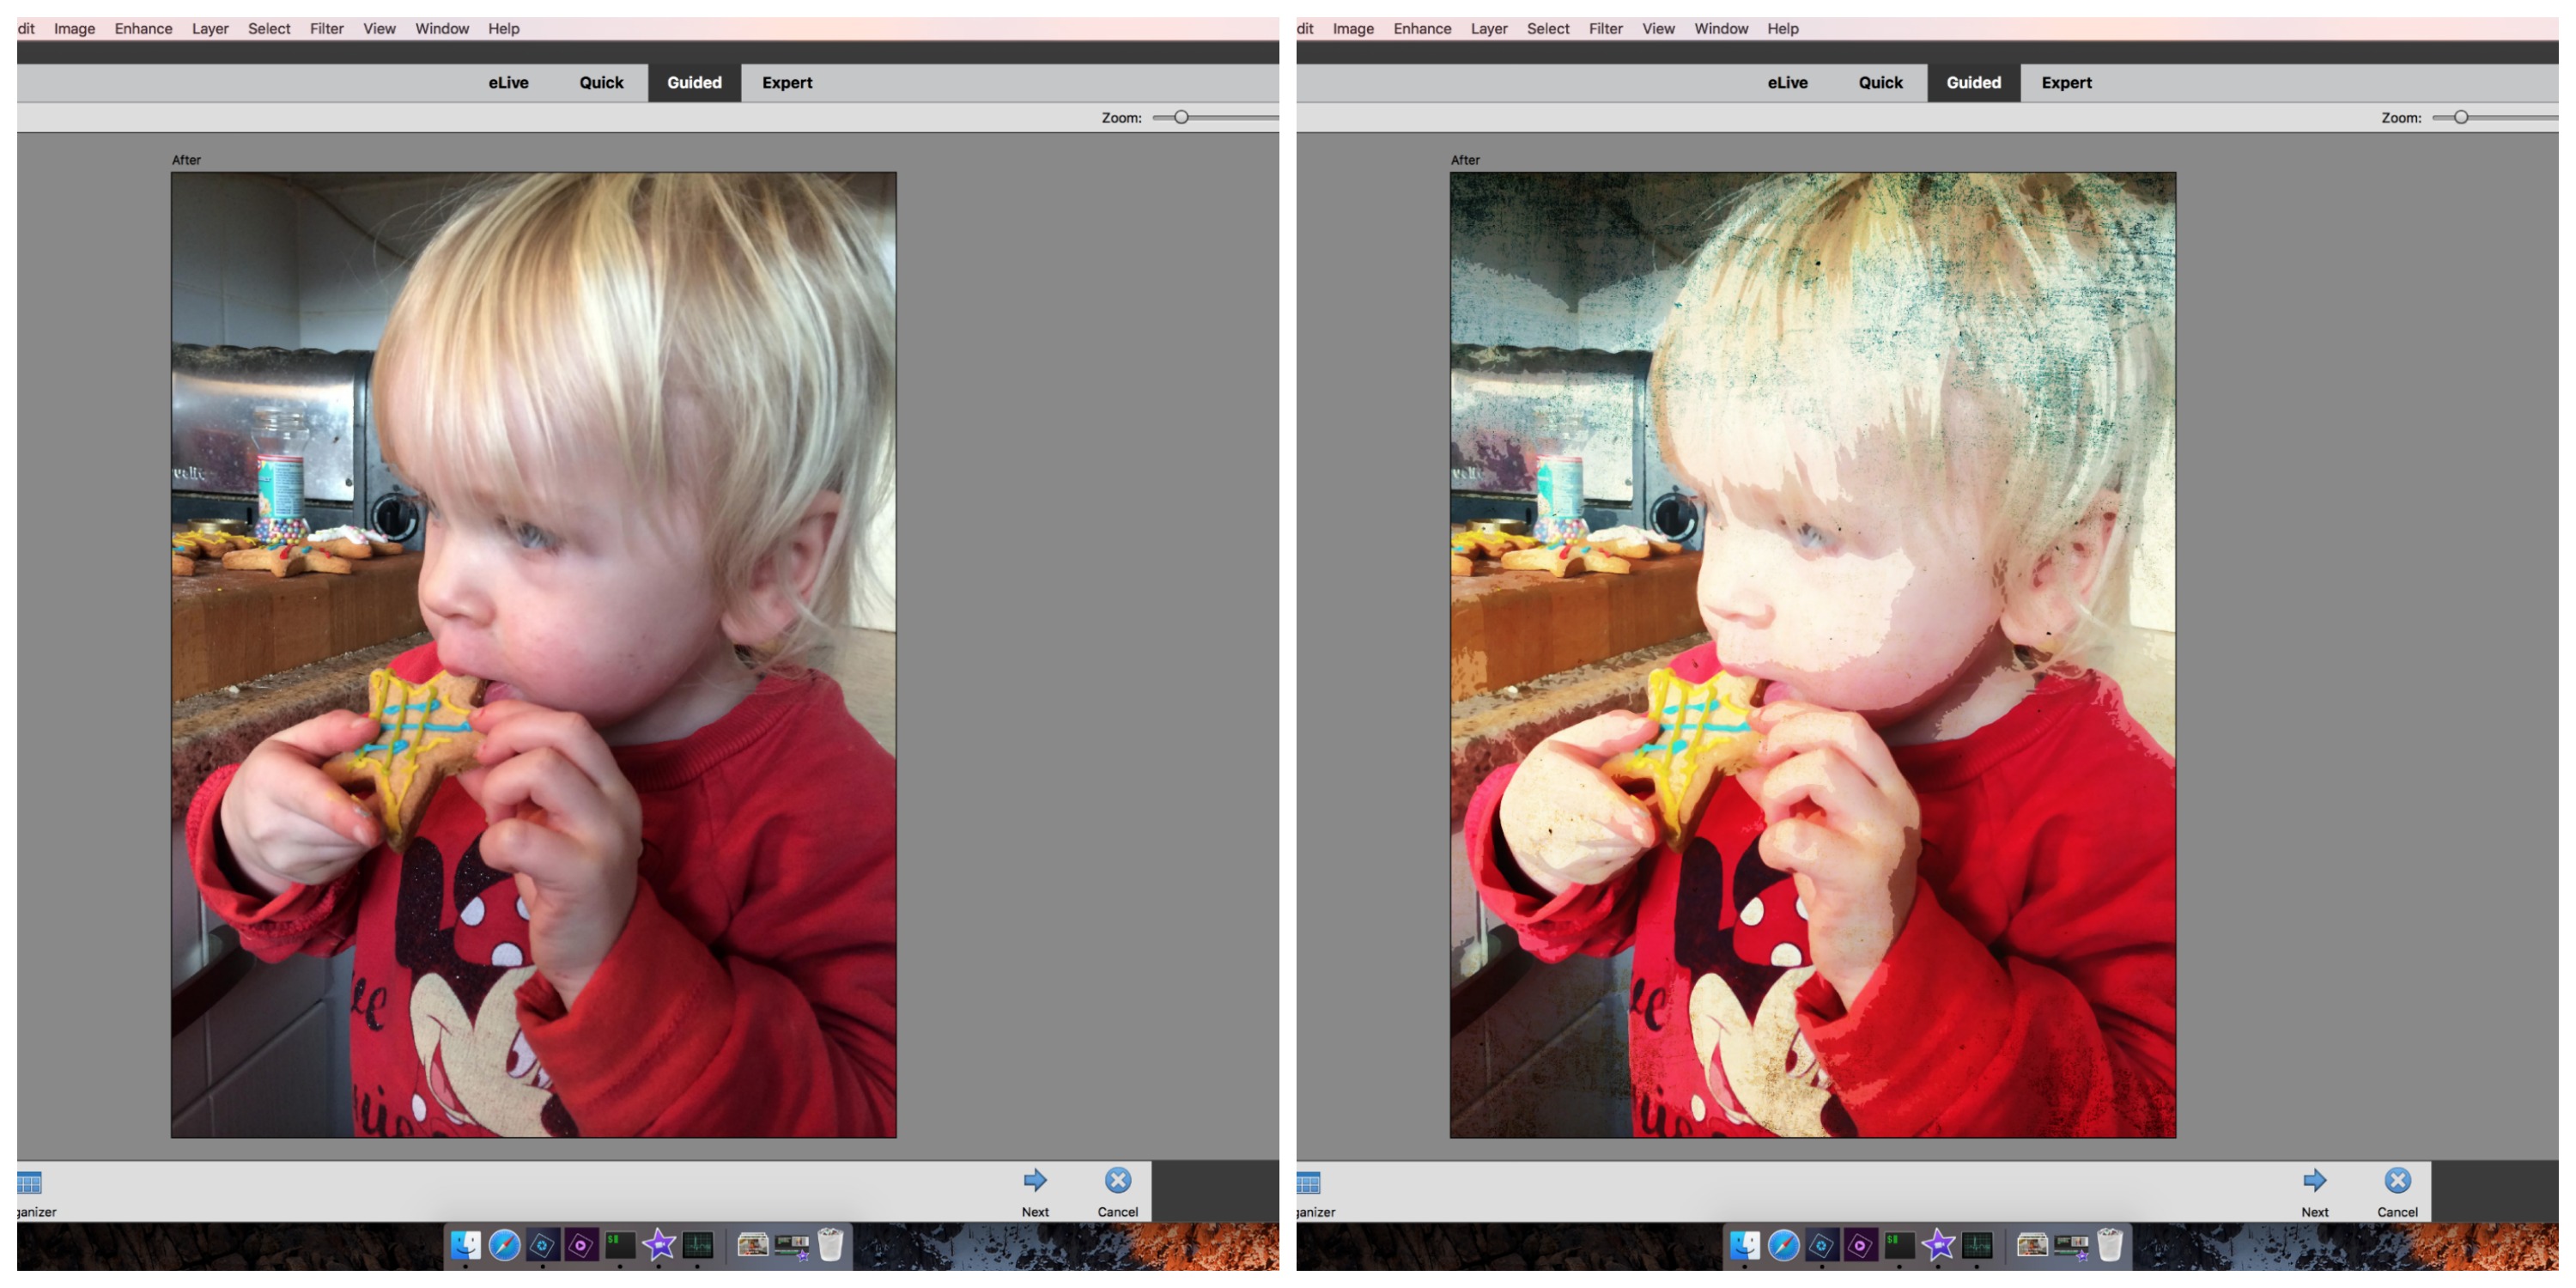
There are three different options for the Watercolour Effect so I tried out each one until I was happy with the photo. You can see how it changes photographs in the two I’ve placed side by side below. I love this photo of my daughter eating her favourite gingerbread biscuits. The Watercolour Effect makes it look a little more vintage and aged.
I was pretty pleased with the finished effect, but thought it would be fun to use another Guided Edit called Photo Text to create a letter using each image. This way I didn’t need to do any wonky cutting out. I simply made letters from each picture and selected a dark outline to make each letter really stand out.

I’ve created a step-by-step video to explain exactly how I created the personalised Christmas letter bunting using the photo editing software which you can watch below.
When I was happy with all the edits I opened all the photos in the Photo Bin. Then, in Guided mode, I selected Create ➜ Photo Prints ➜ Local Printer. The MERRY XMAS bunting was quite long so I opted to print each bunting flag at 8.9cm x 12.7cm. I printed them out onto white photo card, and cut each letter using my craft knife and cutting mat.

To break up the text I decided to add an extra photo of our family between MERRY and XMAS, just to make the ording clearer. This was edited using just the Watercolour Effect. Then I used my sewing machine to stitch the letters together using a simple stitch across the top of each photo. You could hang your banner using washi tape, bakers twine or mini pegs – however you wish.

I’m so excited to hang my Christmas bunting up this year. The kids love to look back over photos of themselves when they were younger and it will look great in our living room. The personalised bunting can be easily adapted to a birthday or celebration – simply create the photos using the Watercolour Guided Edit, but choose different letters when you add the Photo Text.

Pin for later: Creating Personalised Christmas Letter Bunting with Photoshop Elements 2018


This is super cute! Such a nice thing to do and a lovely decoration for the house. I will be suggesting this to my Mam for her class at school
Oh i absolutely love this, such a good idea and sounds simple to make as well. I’m not very confident with photoshop so the tutorial is perfect for me, thanks so much for sharing! xx
Oh this is really sweet! What a fantastic, alternative bunting idea!
Wow! That’s so sweet! And it is such a creative and unique decoration.
This is such a wonderful idea! Definitely something I can see myself doing in the future should I ever have kids.. and that watercolour effect!! so pretty
Thank you for sharing this fab idea. I love how personalised this is- so unique!
Excellent thank you. I am not a crafter but I have my first grandchild and wanted to make a personal gift. Thank you for the templates, keep your fingers crossed for me.