A few weeks ago we had the floor replaced in our living room. Everything was packed away and I’ve been enjoying unpacking all my craft supplies and re-discovering some half finished projects. This weekend I got my Cricut Maker out as I’ve been thinking up a few projects I would like to make. I remembered that I wanted to write a post about how I personalised my Cricut machine with my name.
I absolutely love opening up my Cricut machine and seeing my name! It really is the small things which give me pleasure. Adding your name to your Cricut machine makes a fun first project and I’m going to show you how I did it.
You will need:
Cricut Maker
Coloured vinyl of your choice
Cricut Transfer Tape
Cricut Basic Tools set
How to personalise your Cricut Maker
I opened Cricut Design Space and designed my Project to say Jenny’s Cricut. I choose what font I wanted to use and set the size.
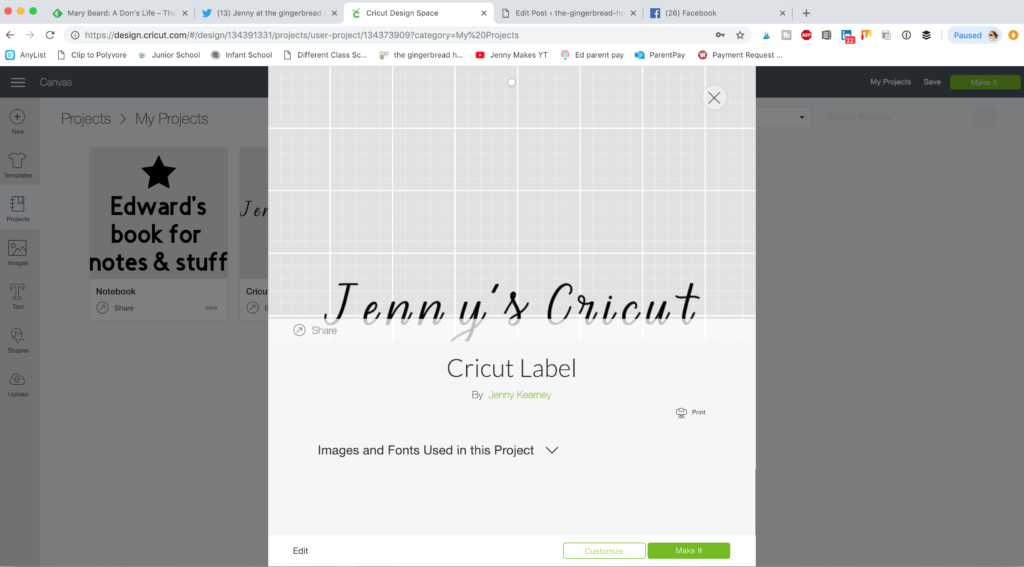
When I was happy with the layout I picked the colour of adhesive vinyl and cut a piece large enough for my project, placing it on the correct mat. Then I set the project going and watched the Cricut machine as it started cutting. It was a small project so didn’t take long.
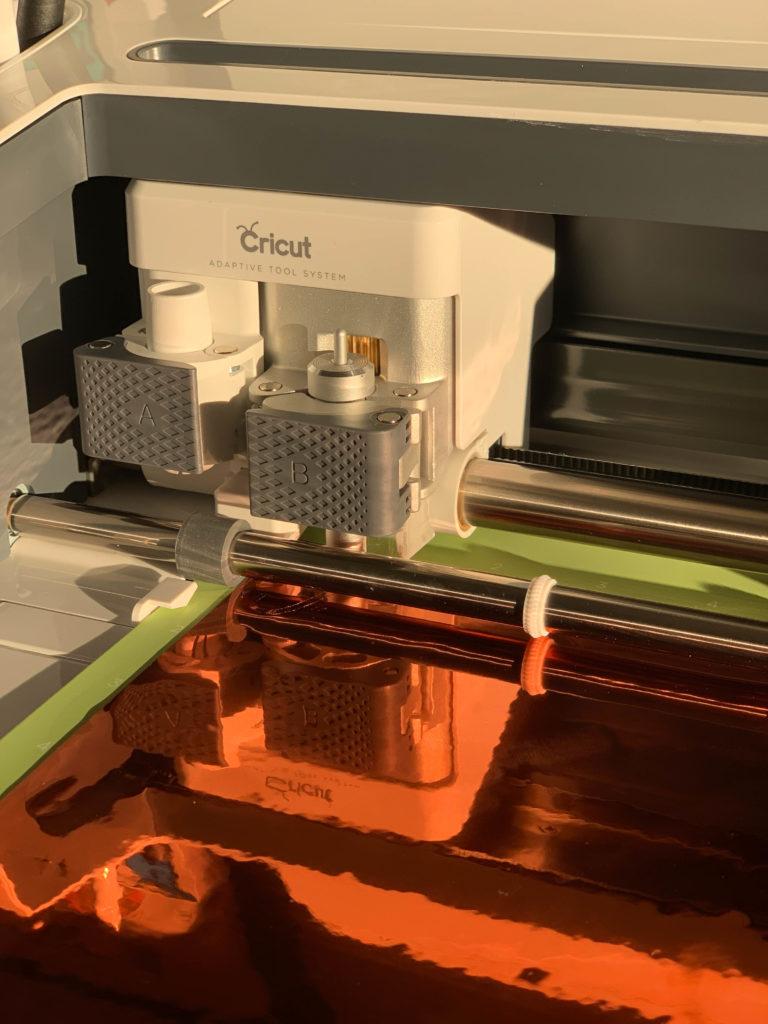
I weeded out the waste and placed Transfer Tape over my label cutting it to size.

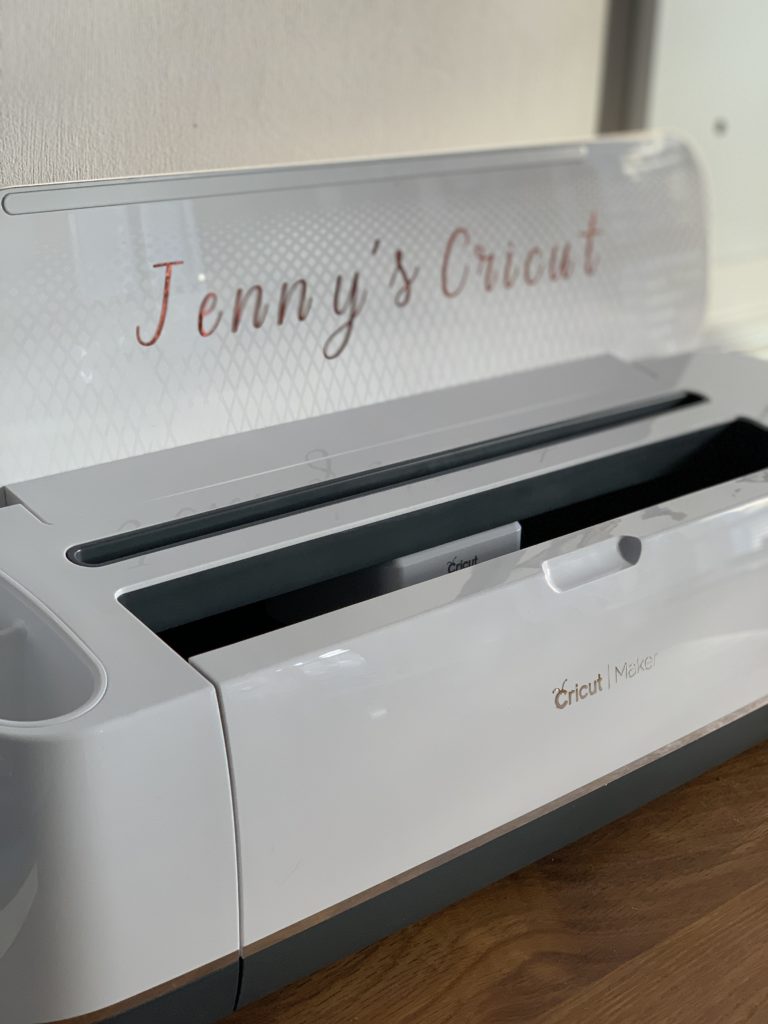
Then I carefully placed it on the inside of the lid of my Cricut machine before removing the Transfer Tape, smoothing it down with the spatula tool.

This was a quick and easy project but I now feel as though I ‘own’ my Cricut Maker!
Take a look at my Cricut projects and inspiration board on Pinterest for more ideas.
You may be interested in some of our other Cricut posts:


I’ve never heard of Cricut before! I’ll read a few mor eof your posts about them as I am intrigued!!
Just perfect, when you have a Cricut and it has so much capability, why would you not personalise your machine? Mich x