
This is a sponsored conversation written by me on behalf of Cricut. The opinions and text are all mine.
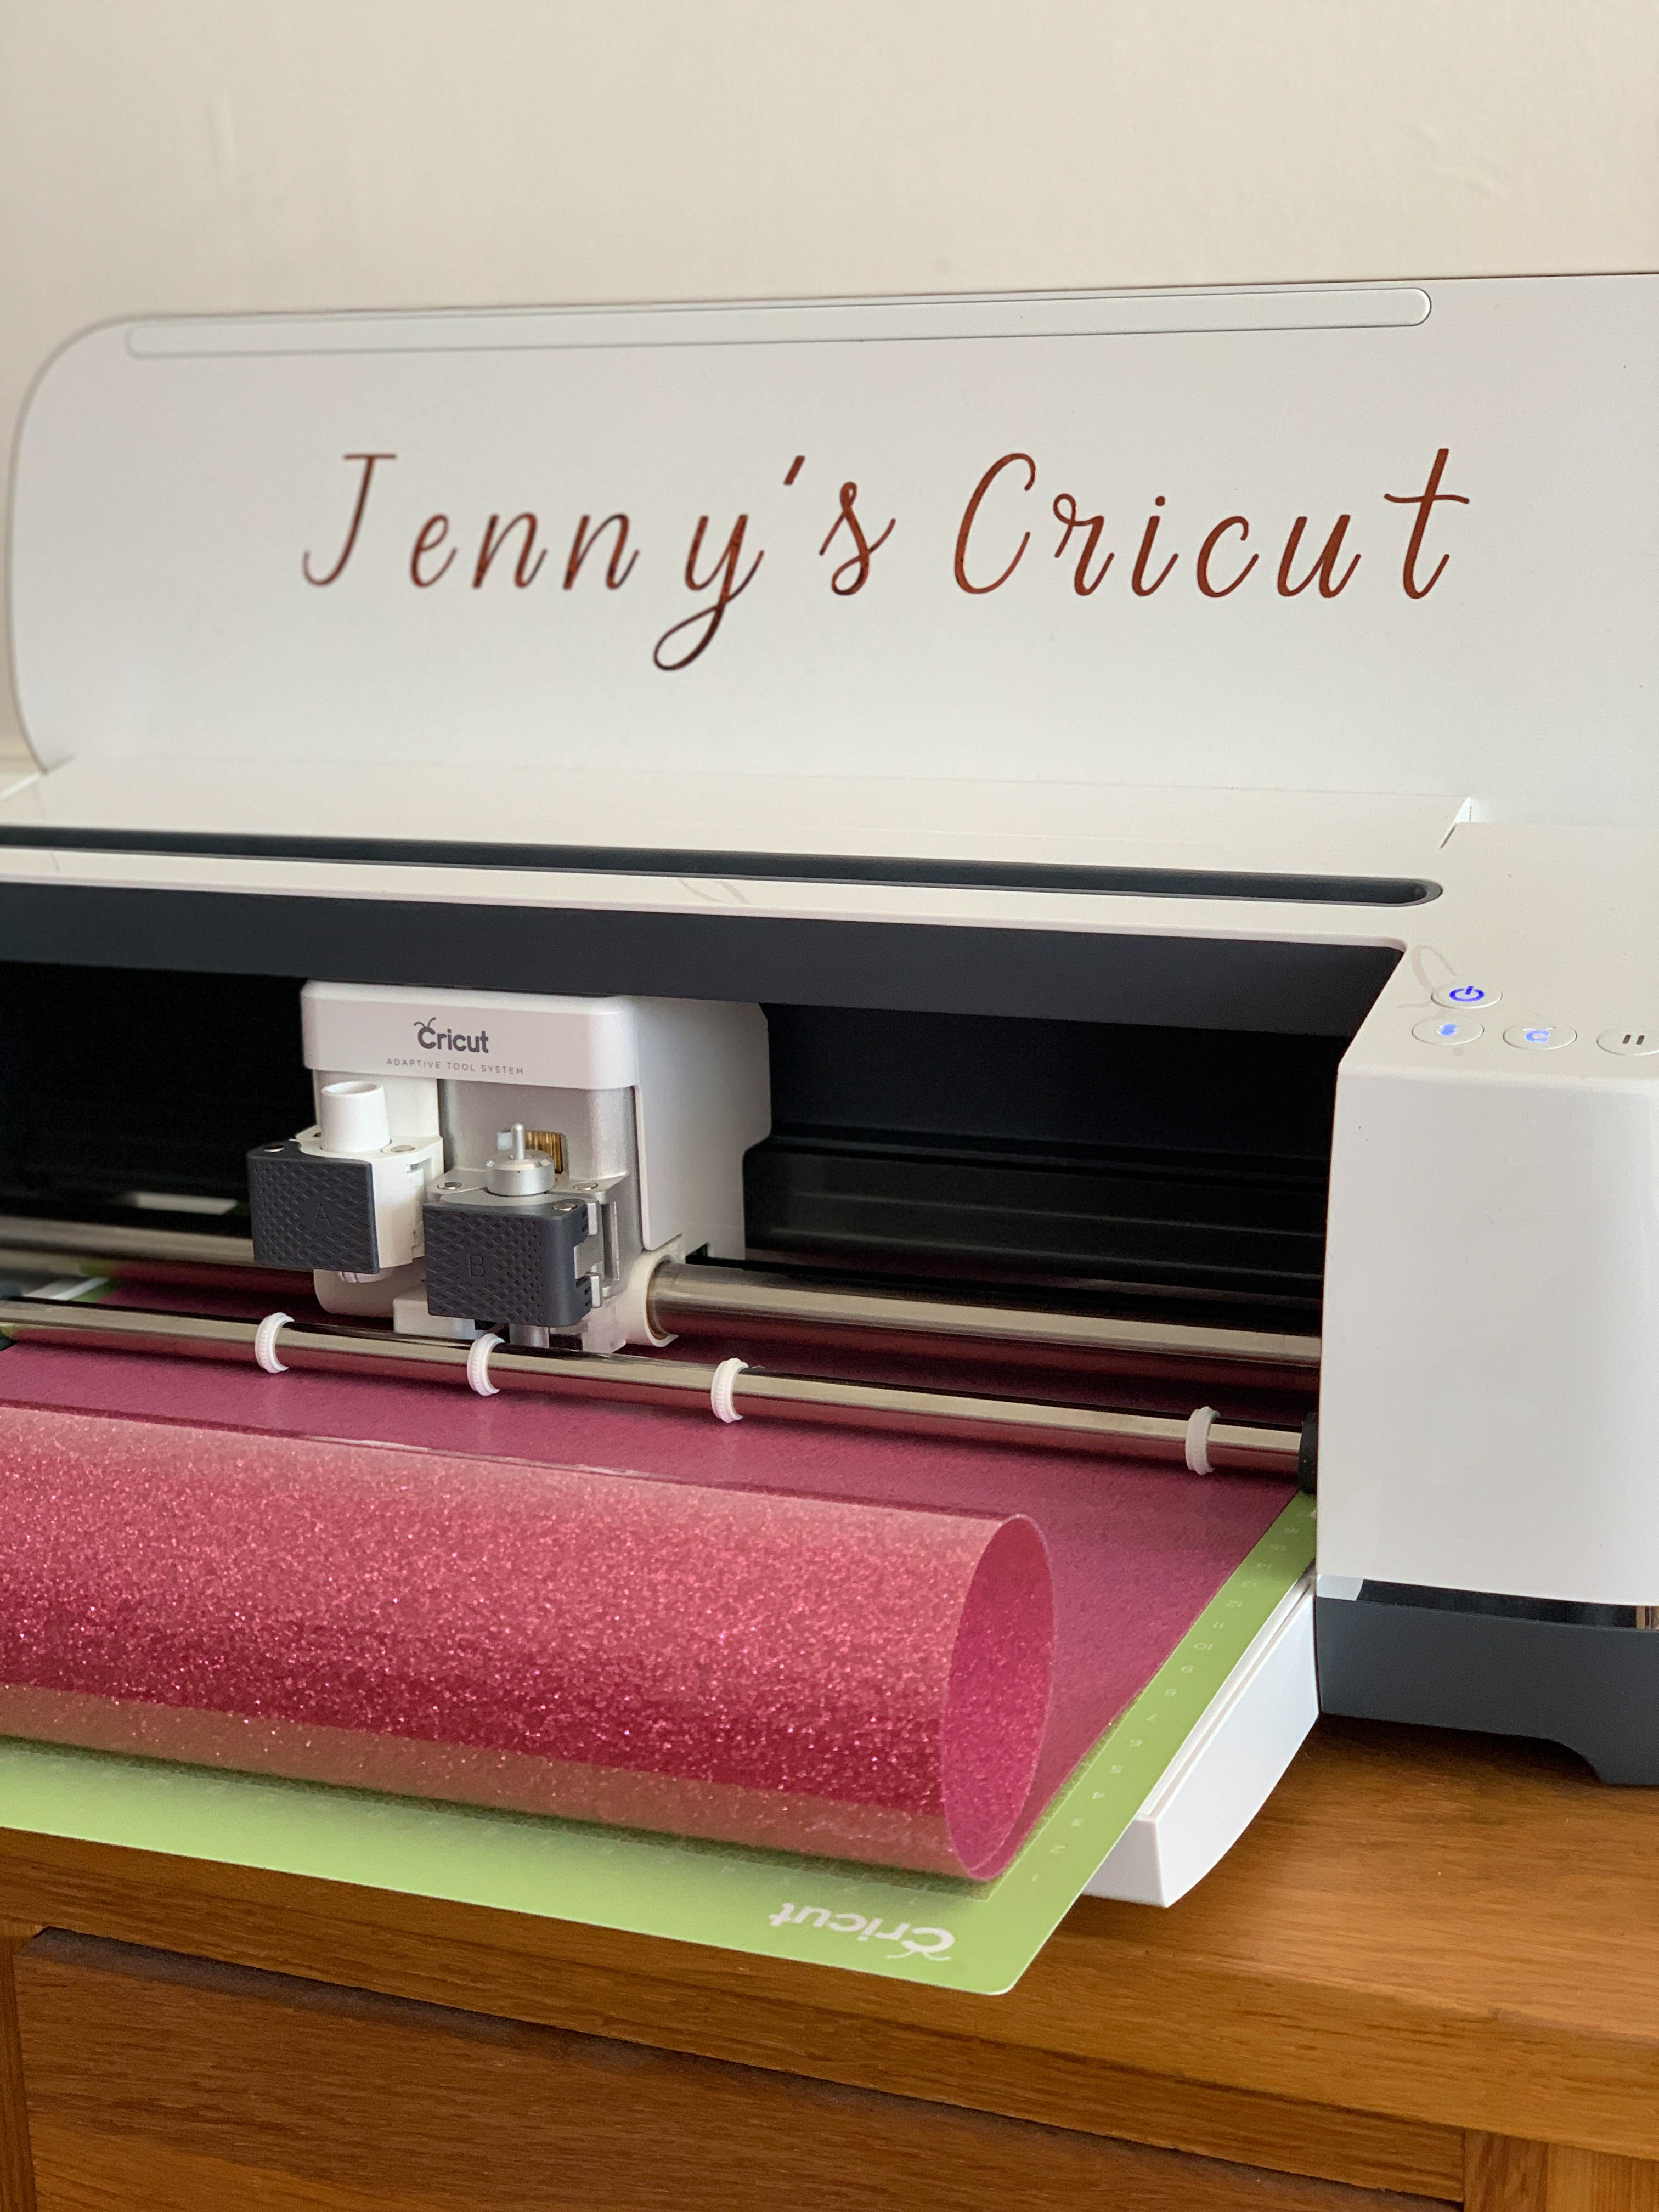
A few weeks ago I shared a post about my brand new Cricut Maker machine. It’s a lovely machine for people who love to craft their own items at home. You can cut all kinds of different materials so it’s great if you like making cards, quilts or pretty much anything. Alongside the Cricut Maker I also received the Cricut EasyPress 2. This is essentially a heat press which make it super easy to apply the vinyl you cut with your Cricut Maker, onto any fabric in 60 seconds or less.
The Cricut EasyPress 2
The EasyPress 2 comes well packaged. Inside the box is the heat press itself, as well as a plastic stand. A first project was included to get you started, you can use the heat press to iron the Cricut logo on to the enclosed calico bag. I love the fact that a project was included and it was a great way to try it out. It’s advised to purchase a Cricut EasyPress Heat Resistant Mat to protect your surfaces as you use the EasyPress 2 and I was lucky to receive one of these.
Making a tea towel with the Cricut EasyPress 2
I’ve seen so many lovely projects using iron on glitter so I was keen to make my first project. I chose a free template from Cricut Design Space which I thought would make a great Mother’s Day gift. It featured a bear with the words ‘Mama Bear’. I made sure to mirror the project, selected a roll of colourful glitter iron on, my standard grip mat and set up my Cricut Maker to cut it out.
I carefully weeded out the bits I didn’t need using the Weeder Tool.

Then I switched on the EasyPress 2 and it quickly came up to temperature. Temperature, time and pressure vary by base material and iron-on type so you need to check the time and temperature settings for each project. I set the time and temperature on the EasyPress, and made sure I had a clear surface. I placed the Cricut EasyPress Mat down with my tea towel on top. It’s recommended to press your base material before placing the vinyl so I did this.
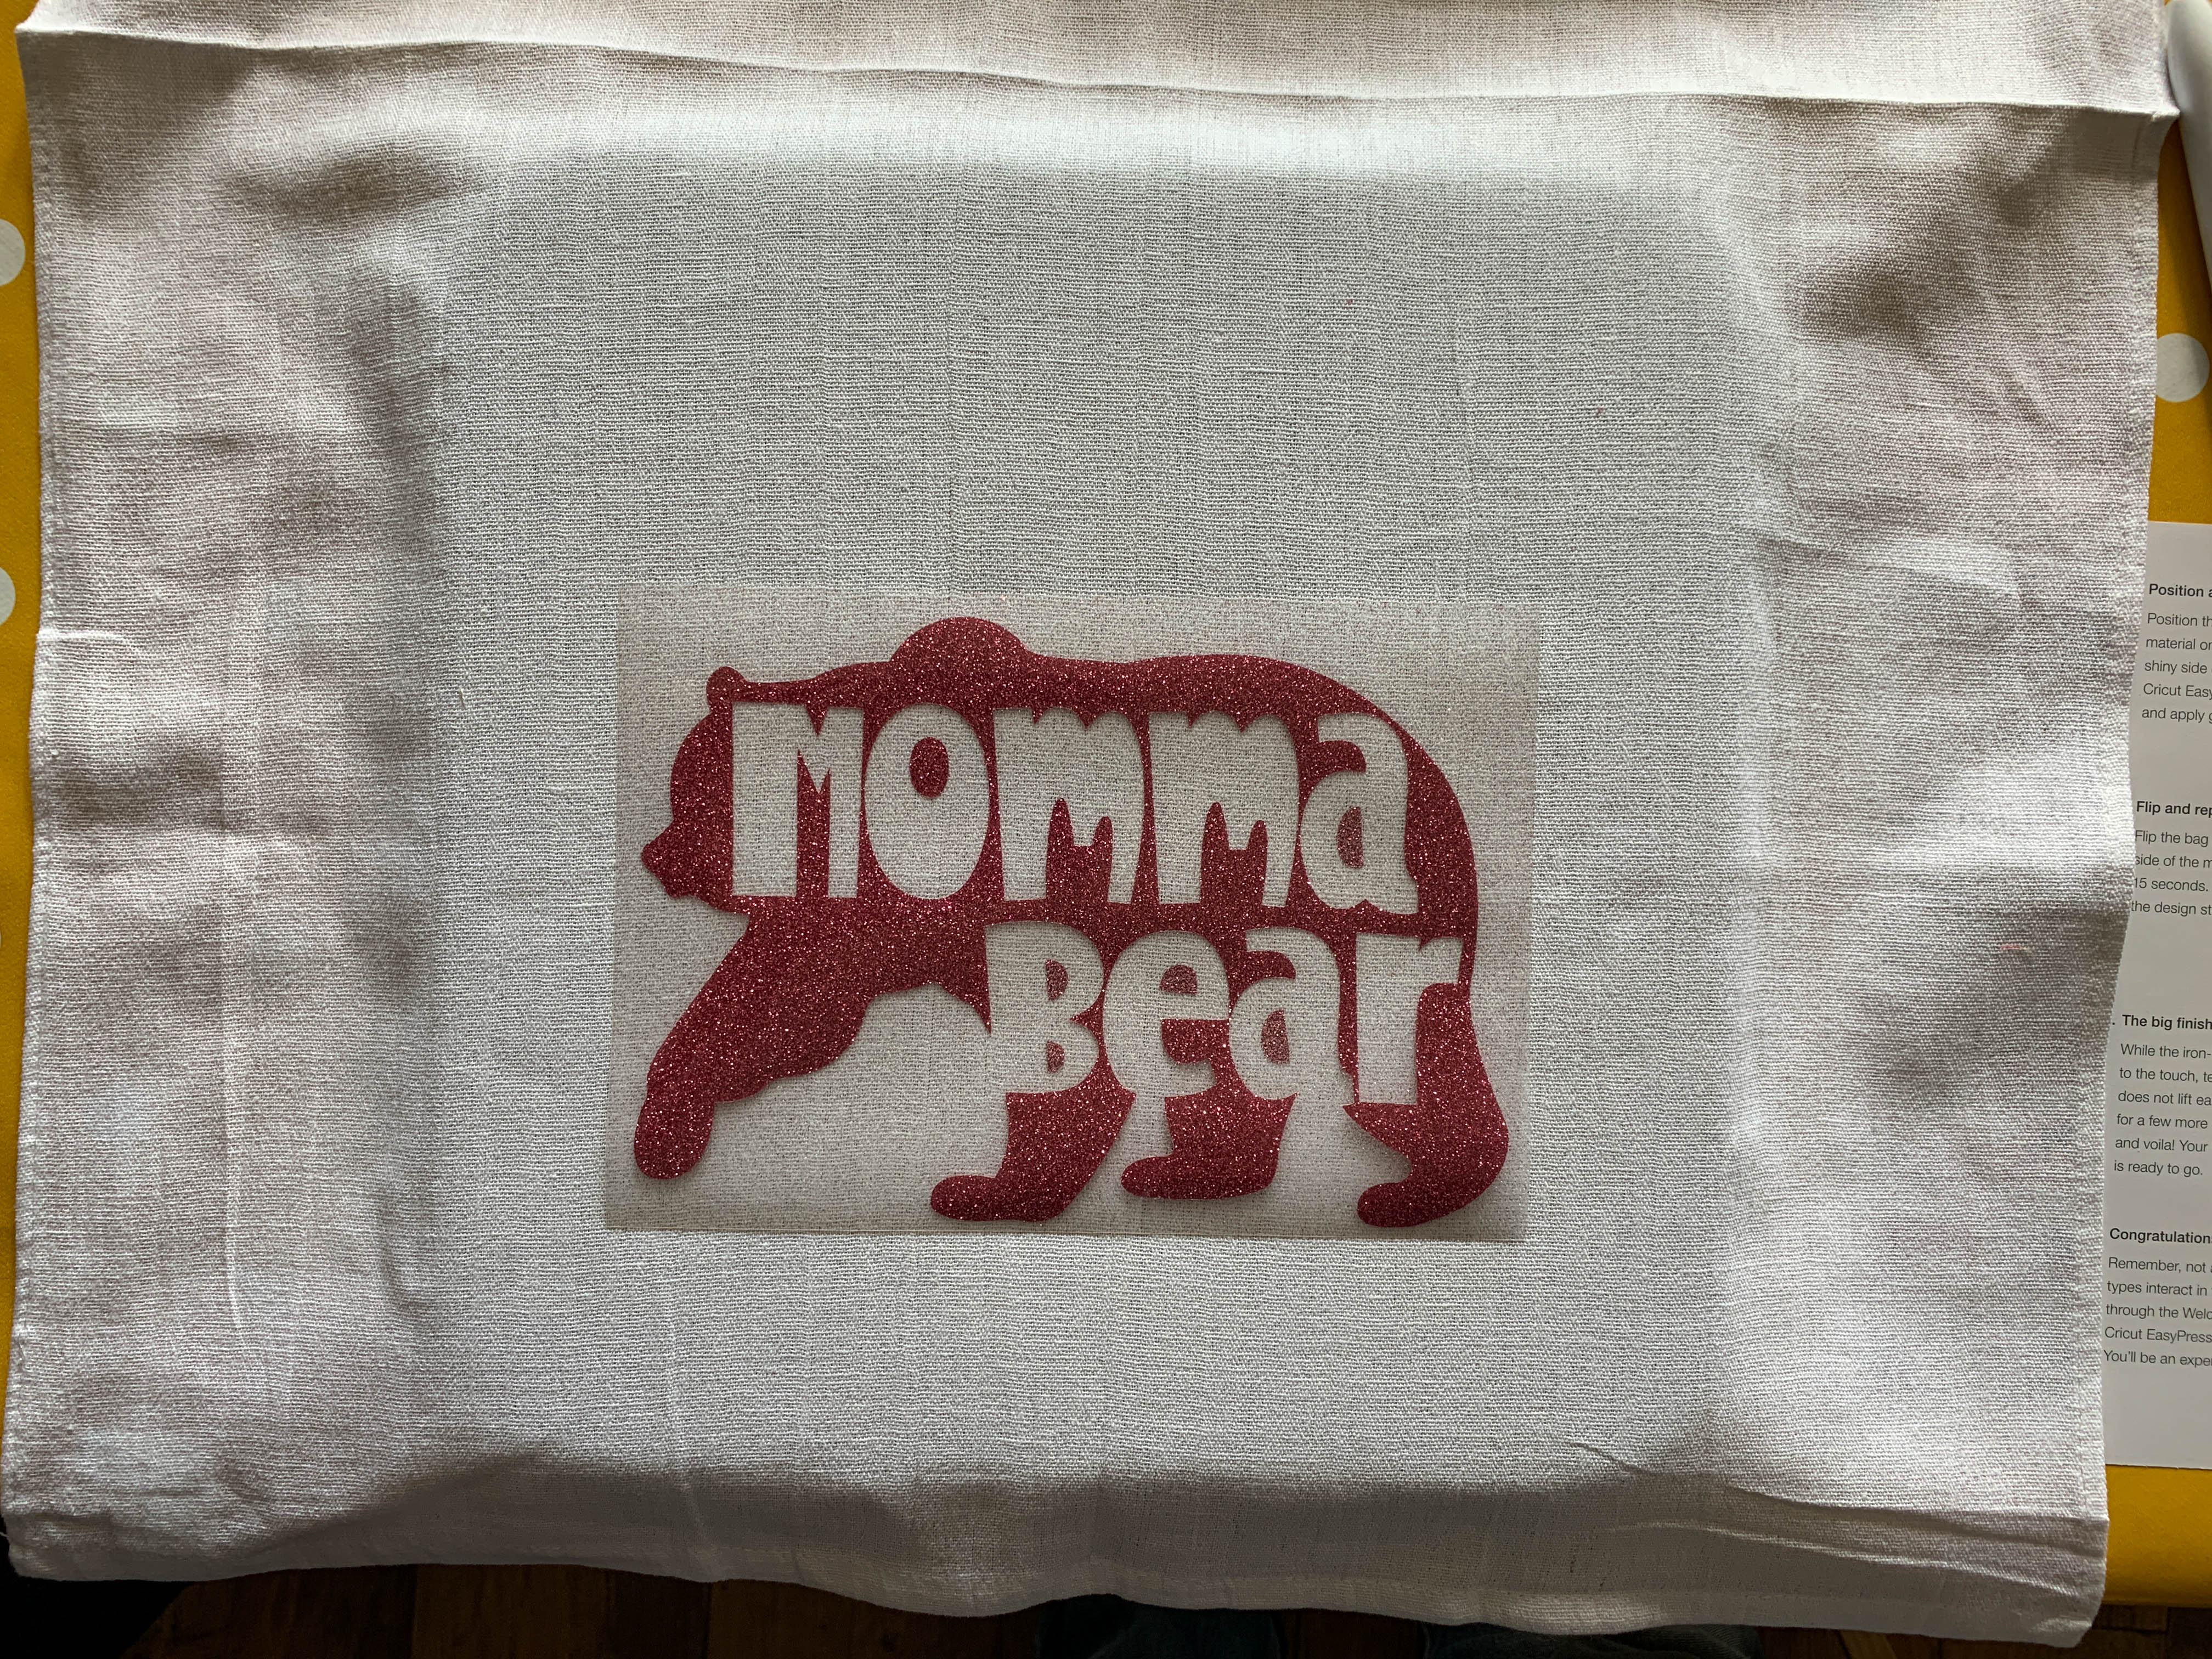
Then I carefully positioned the vinyl on top of my tea-towel (shiny side up), before placing the press down, and starting the timer. I watched the countdown but it also beeped when it was ready.

I then flipped the tea-towel and repeated this step. I carefully tried to lift the corner of the liner and it came away easily.

What do I think of the EasyPress 2?
So far I’m really enjoying using the heat press. I like making clothes for my children and have Pinned some fun projects to make using iron-on vinyl. It is really simple to use and a great size for most projects – it comes in 3 sizes (9″x9″, 6″x7″ and 12″x10″). What do you think? Would you try it for yourself?


I really like the sound if this. I’ve tried to do pressing like this with a standard iron and the results are never perfect.
That is so cool! I would be making these for everyone’s birthday presents
Oh, wow! This looks fantastic. I can’t believe I’d never heard of the Cricut Easypress 2 before.
Louise x
These cricut machines sound like a great thing to have!
I’ve heard about these machines a couple of times but never really seen anything they’ve helped to create – love it! x
Never seen anything like these before, my MIL would absolutely love one. She’s amazing at dress making and crafts.
I am not a crafter but I want one……what an amazing tool
oh wow, this sounds amazing and so good for making personalised gifts such as the tea towel! xo