I had forgotten how much I love January. We are still in deepest, darkest winter and we’ve had some beautiful blue skies recently. We’ve never made many Winter crafts but this year we are fully embracing it!
So far we’ve made a really fun winter ice lamp, mistletoe and holly and berries sun catchers. Today we’re sharing how to make a winter pomander.
We bought a large orange and used the ribbon and cloves which came in our recent hygge-in-a-box box. I also found a metal skewer which helped with the cloves.
How to make a winter pomander
A pomander is a traditional way to freshen the air. Orange and cloves are a beautiful combination and the winter pomander should last for years if kept in a cool, dry place.
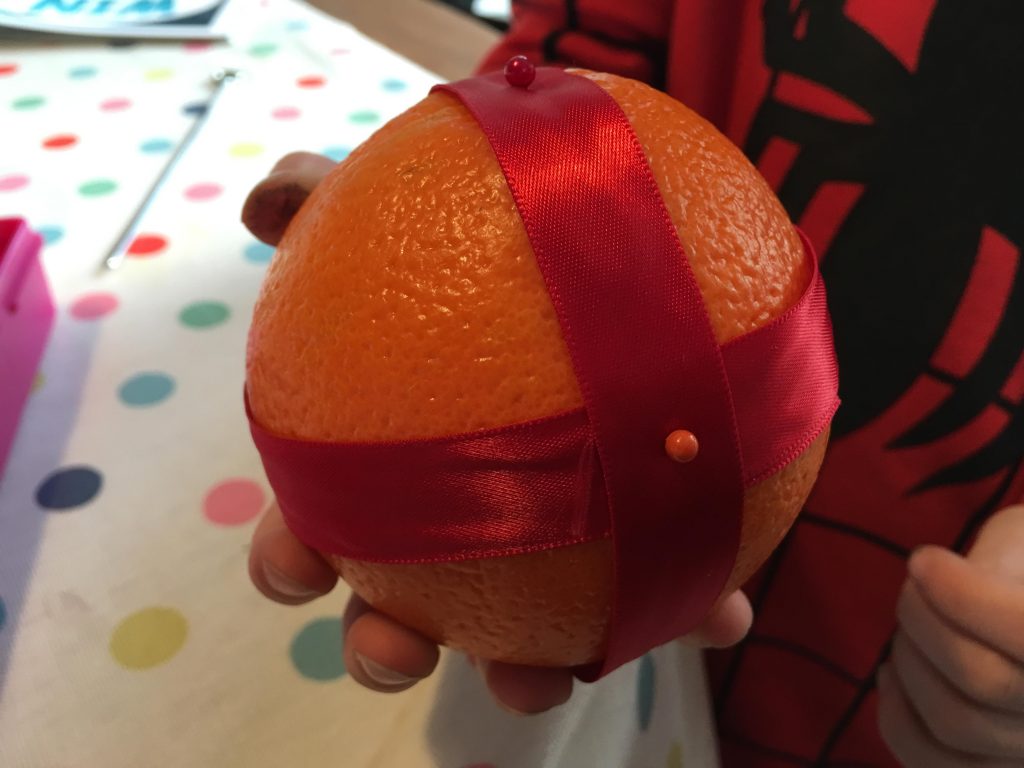
I tied the red ribbon around a large orange, keeping it in place with a few pins.
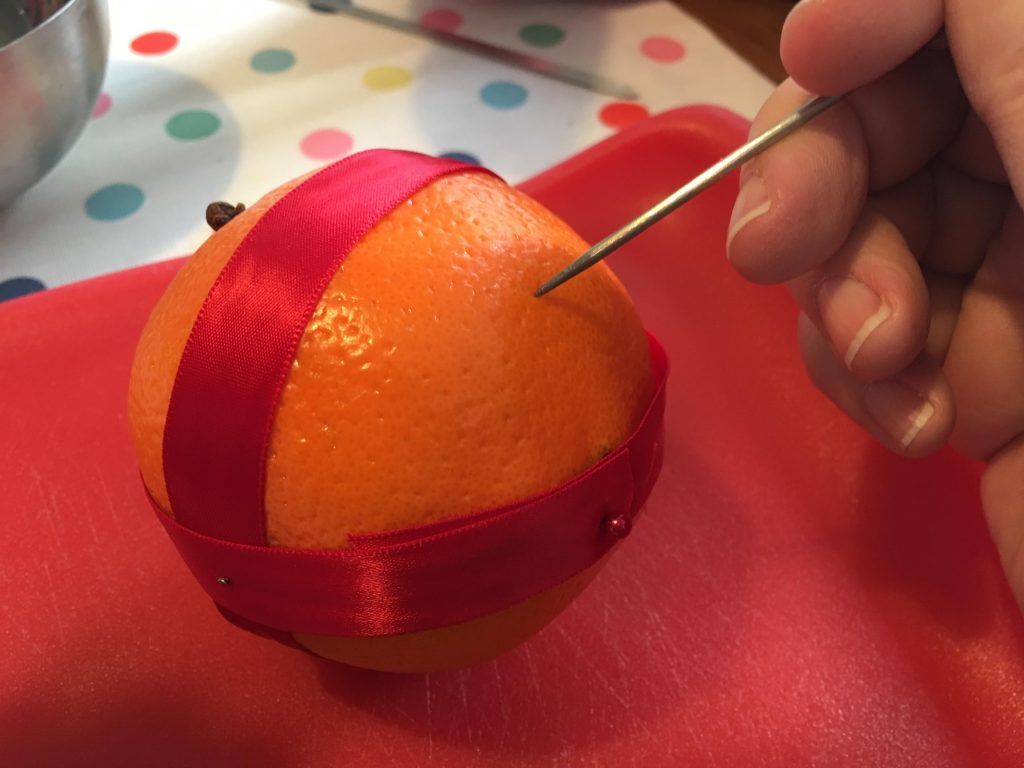
My 5 year old enjoyed looking at the cloves although she didn’t like the smell. I made holes in the orange skin using a skewer.
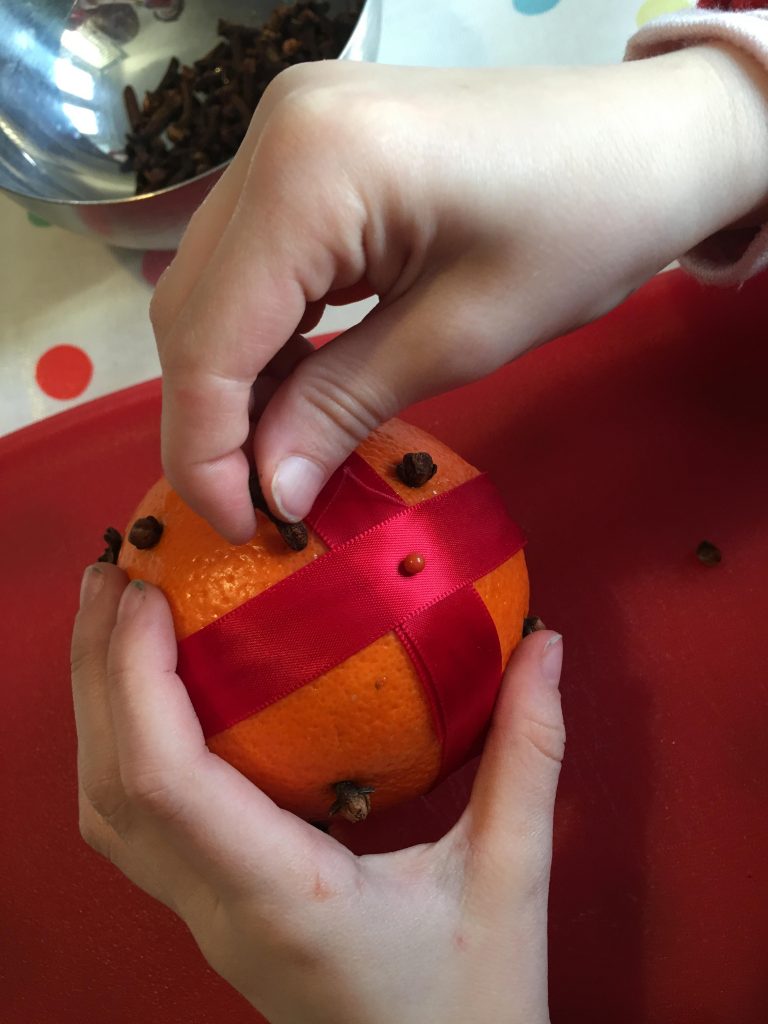
Then she was able to pick a clove and push it in.
This was a great craft for working on her fine motor skills and we were able to talk about how people keep their homes smelling good too. I tried to make patterns with the cloves but my daughter was more interested in using them all up so the finished winter pomander looks a little haphazard.
We’ve had it in the living room for about a week and it still smells and looks good. I can’t wait to see how it ages.
Some of our other Winter craft activities:


I love Pomanders throughout winter and not just for Christmas – made. few this year – lovely and simple craft and great for the whole family
Laura x
Ohh I recall these from when I was a kid, I’ve not seen one in years. Thanks Mich x