

If you’ve ever purchased brand new wood flooring, you’ll know it’s a significant investment. Ordinarily you’ll order wood flooring in full packs. Which means, unless you’re lucky enough to have the perfect amount of wood to cover your entire floor, you’re likely to have some left over. This can be anything from one or two planks, to half of a full pack – which is a lot of money to waste. Whilst it’s recommended you keep some spare in case of damages, you could still be left with excess flooring you’re unsure what to do with. Luckily, we’ve got some creative ideas for you. Here’s four of our favourite ways to put that leftover wood flooring to good use.
1. Create a Feature Wall
Feature walls add a certain character to a room’s décor, and using wood on the walls is bound to turn heads when you welcome visitors into your home. Use it in the same room as you’ve laid your floor for continuity in your interior design, or use it in the next room to create a natural flow from one space to another. It can also give the illusion of a more spacious room, with vertically laid planks adding length to your room, whilst horizontal will add more width. The process for putting wood on the walls is fairly similar to that of laying your flooring, and it yields stunning results you’re bound to love.

2. Make a Unique Coffee Table
Wouldn’t it be great if you had a brand new matching table to go with your wood flooring? If you’ve got a few planks left, you could fashion them into the top of a table. This works best by gluing the wood flooring to a sheet of plywood as the base. From there, you can sand and finish if it’s needed. This example, using herringbone parquet flooring, and we think you’ll agree it looks incredible. All that’s left is to attach to an existing table; or make your own frame, depending on your DIY ability. This works great with any kind of flooring, but make sure if it is real wood that you treat it well enough to avoid unsightly stains.

3. Create Rustic Signs
These work great in a kitchen or in the garden, and it’s a cute idea that you can do as a family. We’ve all got the odd one or two signs in our homes with cheesy quotes. Some are so bad that you love them, and this way you can personalise your own. Cut the wood down to size and add a layer of paint (this isn’t absolutely necessary if you’re already happy with the colour or style of the wood as it is). From there, decide on what you’d like to write and paint this on. If you’re not confident in your calligraphy skills, use an online stencil maker. Drill two holes, one in each of the top corners, and thread some rope through so it can be hung, and you’re done!
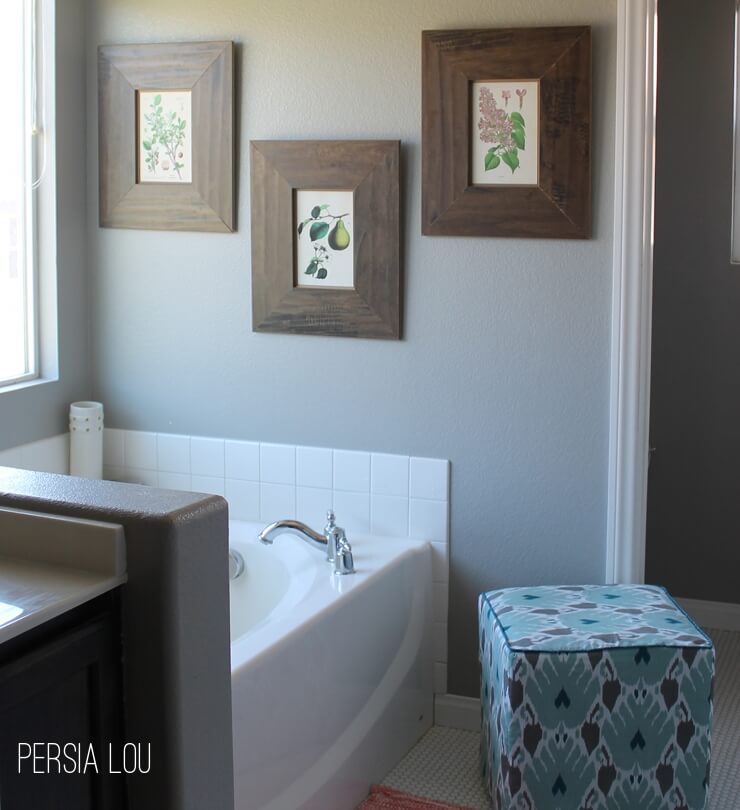
4. Frame Family Photos
If you’re left with only a small amount of flooring to play with, making your own picture frames is perfect for casing your treasured family photos. They’ll match perfectly in the room which has the flooring laid, working to tie together your décor. The process is simple as well. You’ll need to measure out the dimensions for your frame and cut 4 planks at the required lengths. You’ll also need to cut 45 degree angles on each end to make sure they fit together, and sand as needed. You can then simply glue them together to create the base for your photo frame. Laminate flooring works perfectly here, because the tongue and groove systems will work to naturals hold photos in place. You just need some protective plastic to lay over the top and you’re finished!
Disclosure – this is a collaborative post


1 Comment
Helen
May 22, 2018 at 9:08 pmLove the idea of making a bespoke wooden sign for home!